A revolution in planetary imaging has been quietly happening over the past few years whereby one shot colour planetary cameras (OSC) are now able to complete with the results produced by mono cameras and multiple filters. The time savings over the mono method I’ve described in previous blogs is enormous, instead of shooting multiple sequences through three or four different filters only one sequence is required, reducing imaging time and the chance of those nasty clouds ruining your hard won dataset!
Capturing Your Images
All my previous comments regarding the capture of your images apply here, you can revisit them in my posts on high resolution imaging of the Moon or my guide to planetary imaging. To summarise:
focus is vital, no amount of skill will compensate for a blurry dataset, an electronic focuser is a fantastic tool for achieving good focus as you don’t need to touch the telescope eliminating vibrations. If you can I would really recommend getting one.
wait until your target is at its highest point in the sky, this will ensure you are shooting through the minimum amount of atmosphere. This is why it is best to image outer planets around opposition as they will be at their closest to Earth and reach a good altitude (if you are lucky)
if you are imaging at long focal lengths and your image is dancing on the screen resembling the view through boiling water you may want to pack up and try another night. Bad seeing is something you can do nothing about. Imaging just after dusk or just before dawn often offers the most stable conditions.
transparency or the ‘murkiness’ of the atmosphere will soften your images, best results will be on nights of good transparency.
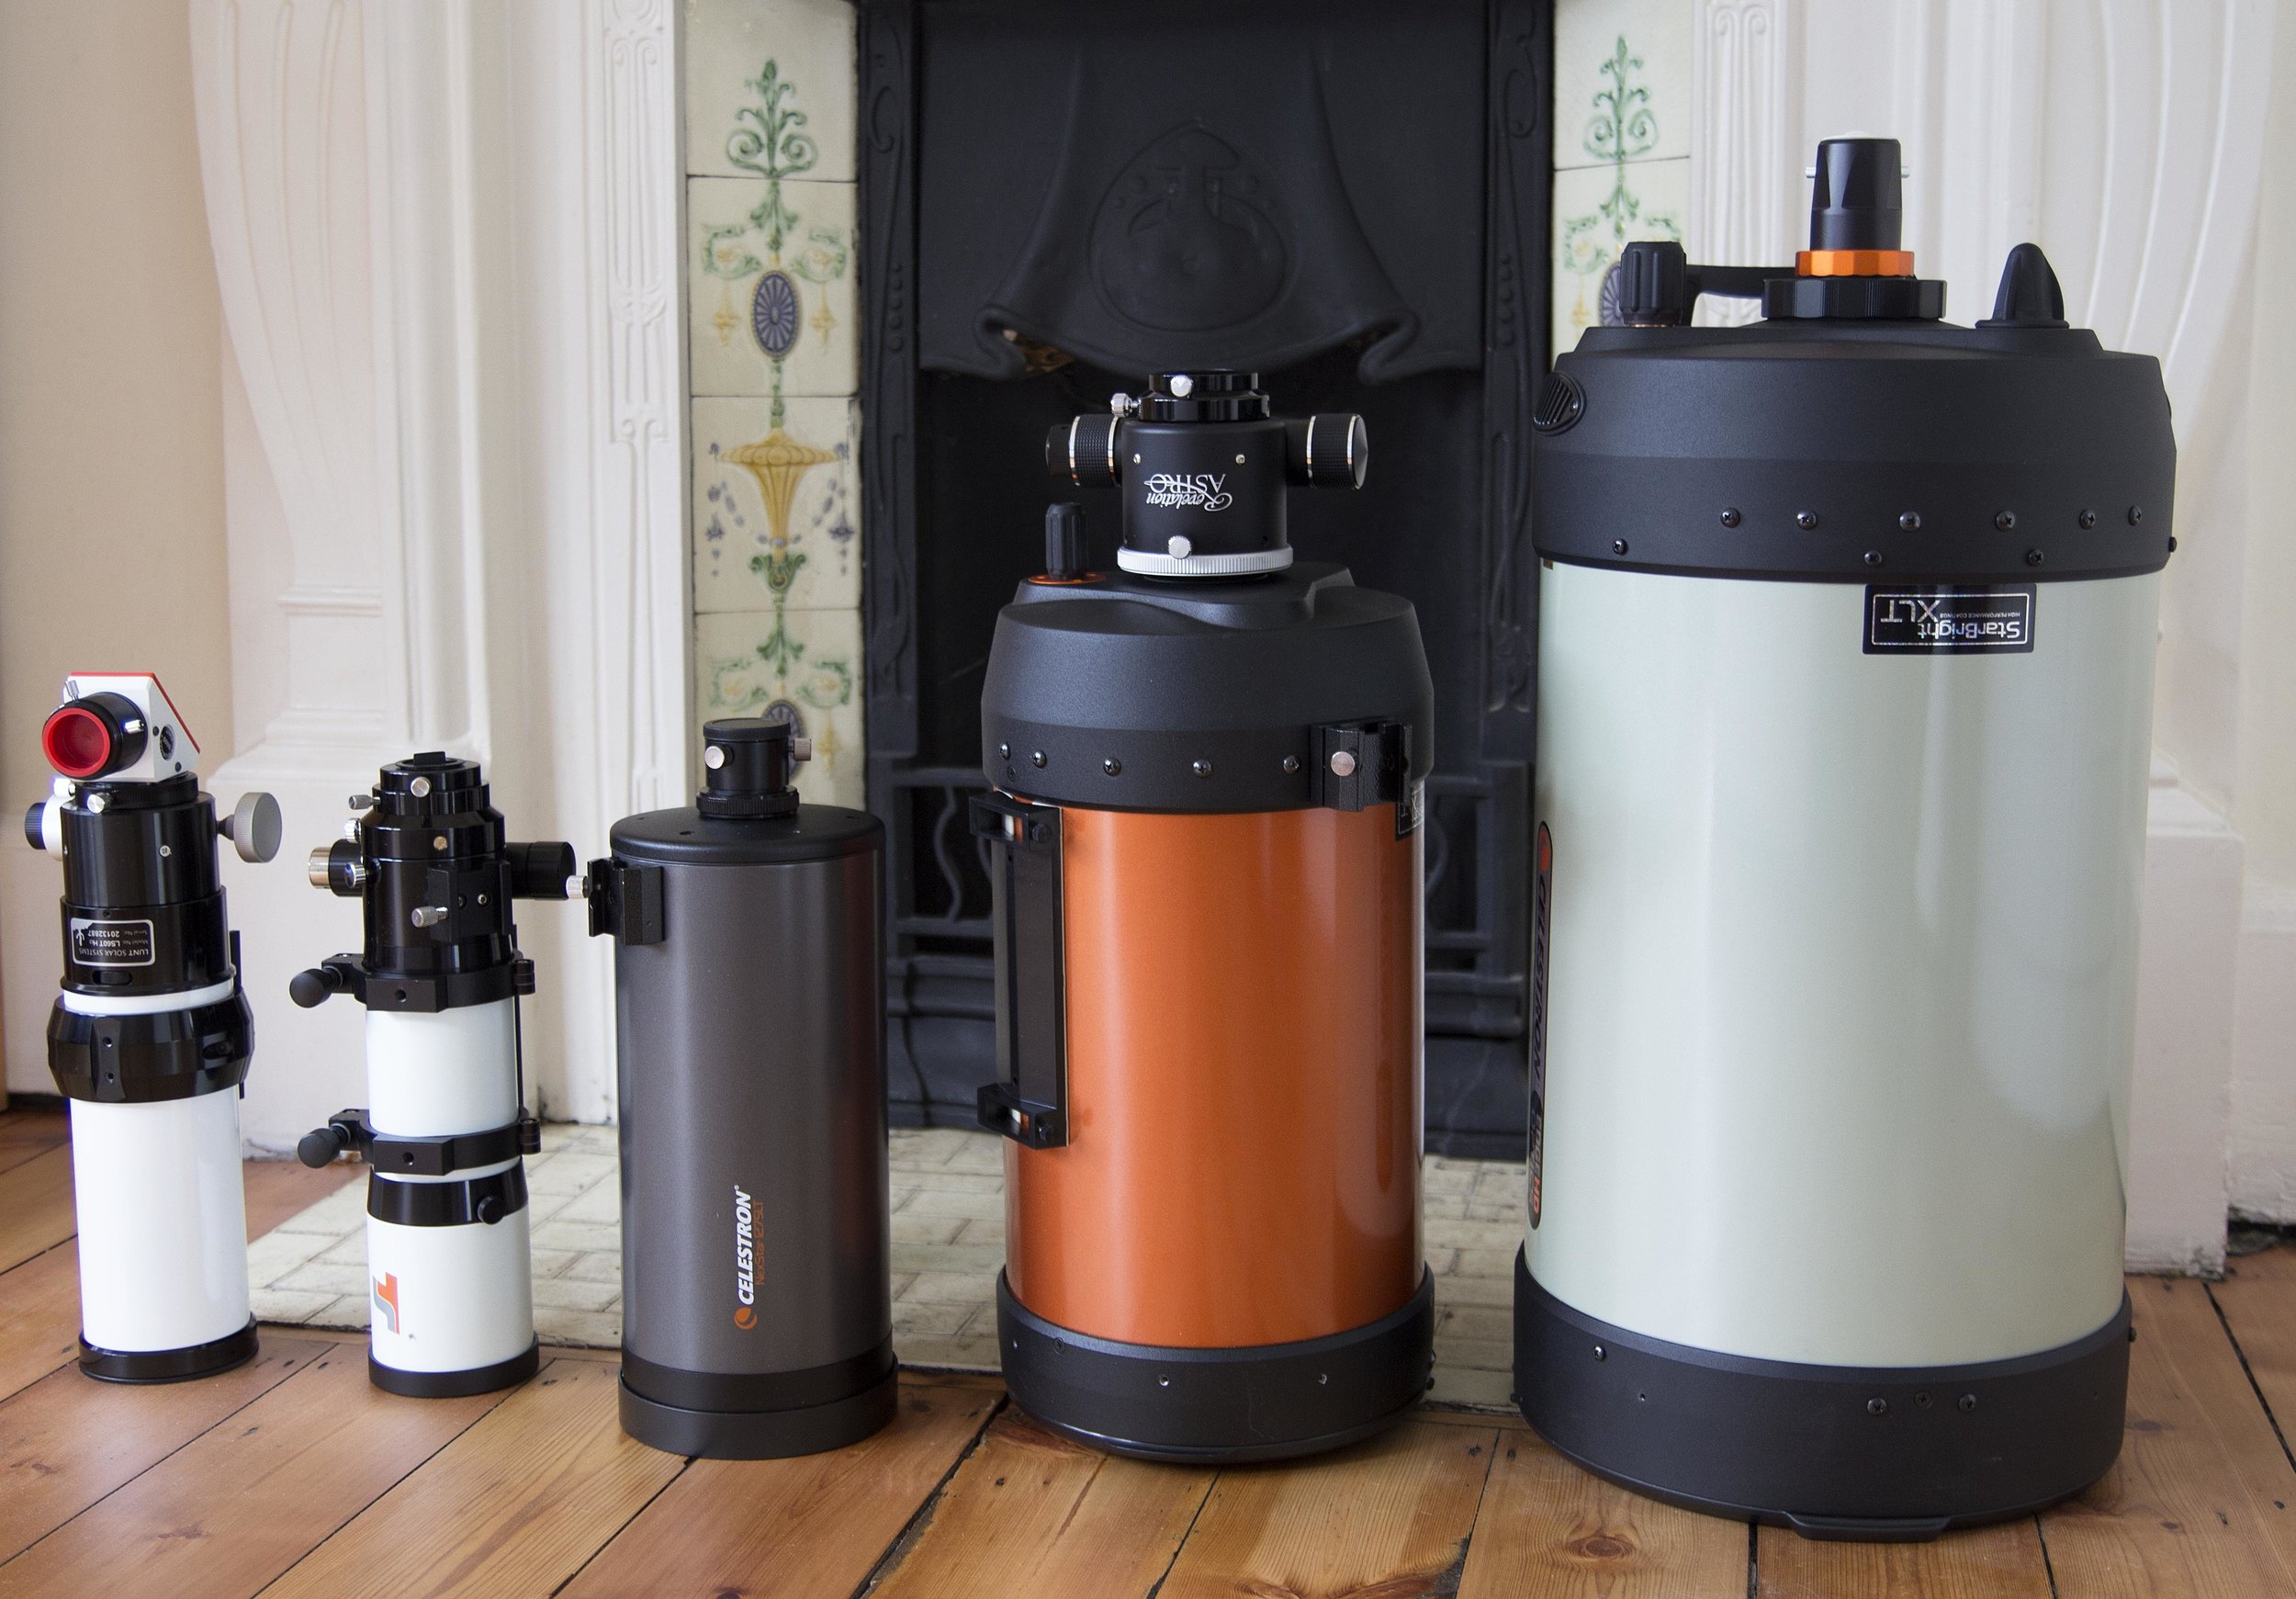
In addition to the points above when using a colour camera an ADC is pretty much vital for best results. In the image below the ADC is just in front of the camera in the imaging train.
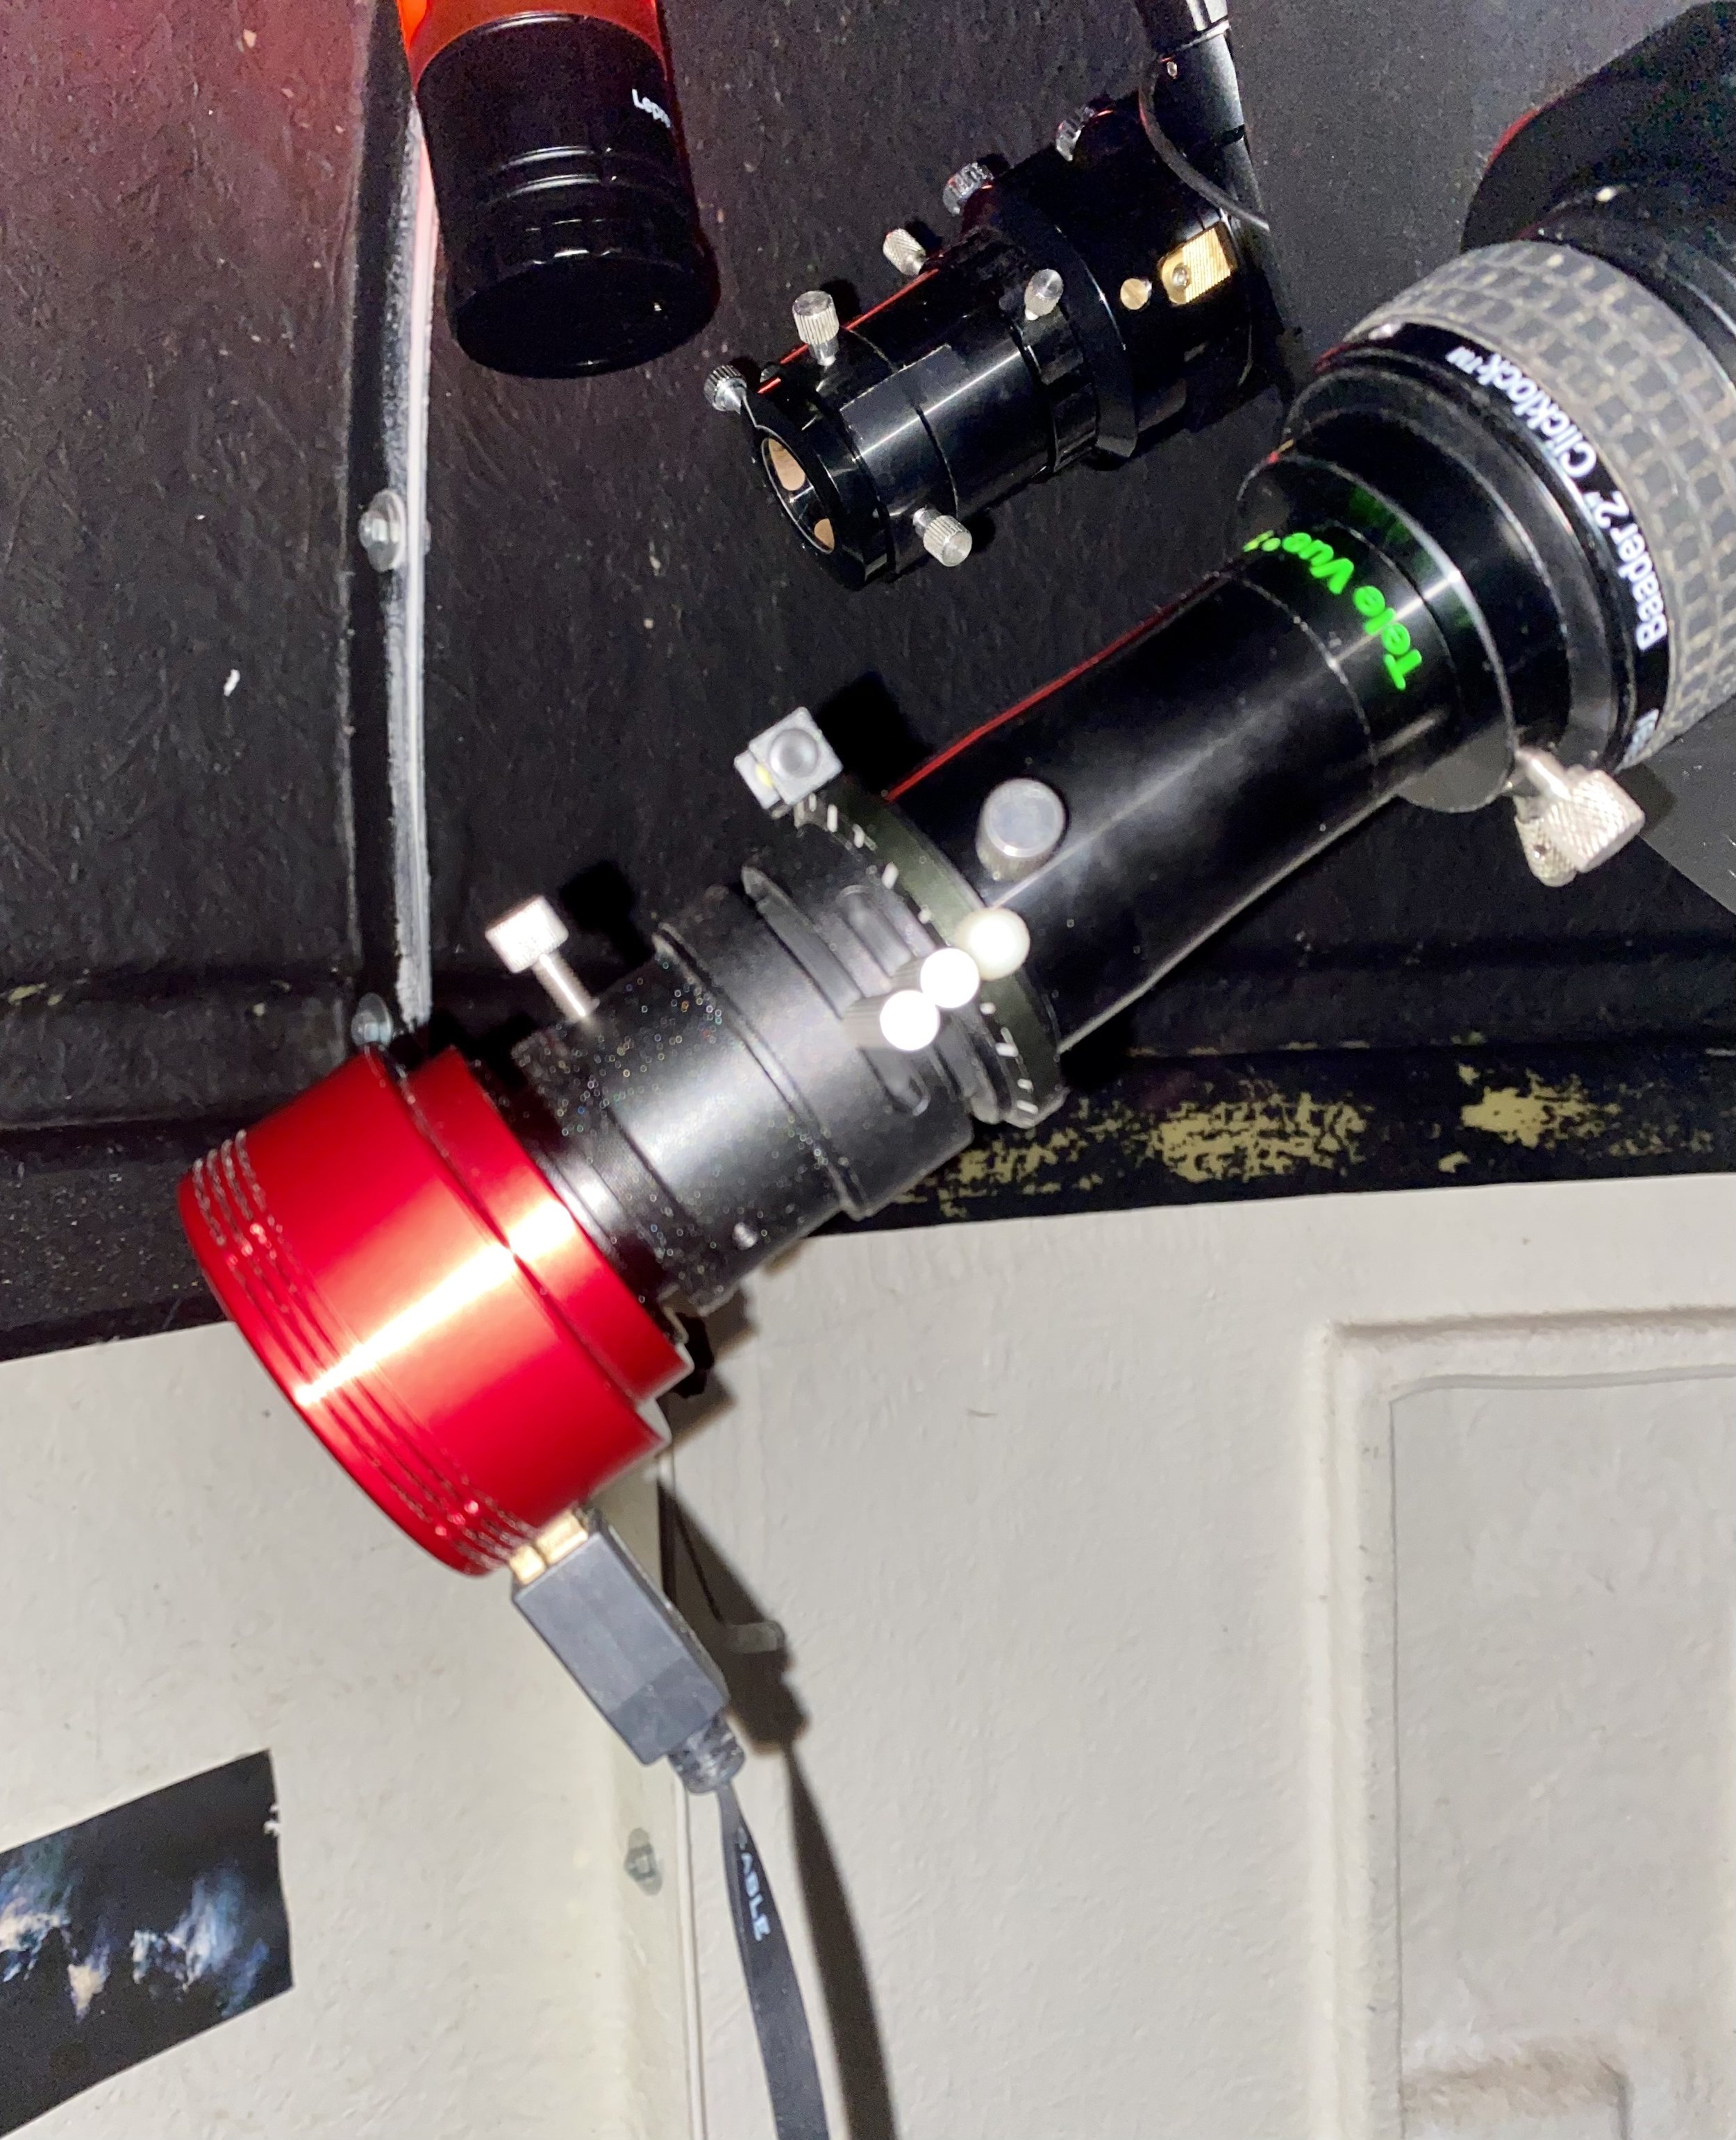
Imaging Train (L-R) ZWO ASI224MC camera, ZWO ADC, Televue 2.5x Powermate
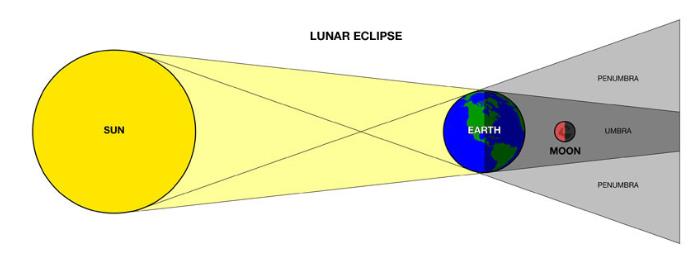
An Atmospheric Dispersion Corrector (ADC) helps counteract the refraction of light as it passes through our atmosphere, the amount of refraction depending on the altitude of the object you are imaging and the wavelength of light. A correctly adjusted ADC placed between the camera and image amplifier such as a Barlow lens or Powermate will greatly reduce the spectral spread caused by the atmosphere improving the resolution of your images. An ADC applies the opposite amount of dispersion to that caused by the atmosphere, re-converging the light from the different wavelengths at the focal point of your scope, doing this via a double prism.
Using ADCs used to instil fear in the hearts of many astrophotographers as ensuring the ADC was level with the horizon and the prisms were correctly aligned could be a challenging task, however software has come to the rescue. I use SharpCap as it is the application I am most familiar with but FireCapture also has a feature to assist in aligning your ADC so use whichever you are most happy with. The screenshot below shows the SharpCap ADC alignment feature where all you have to do is move the prism arms relative to each other to a point where you get the minimum values against the red and blue lines (0.4 in this case). The length of the lines should also be as small as possible. Once you are happy you are good to go!

ADC alignment feature in SharpCap
As you are now ready to start imaging, this might be a good point to briefly discuss cameras. I have a ZWO ASI224MC camera which produces results I am really happy with, the ZWO ASI482MC is also gaining a lot of popularity and I have seen some superb results from it. Recently Damian Peach reviewed the Player One Saturn M-SQR and was very positive about it, with, as you would expect, fantastic results.
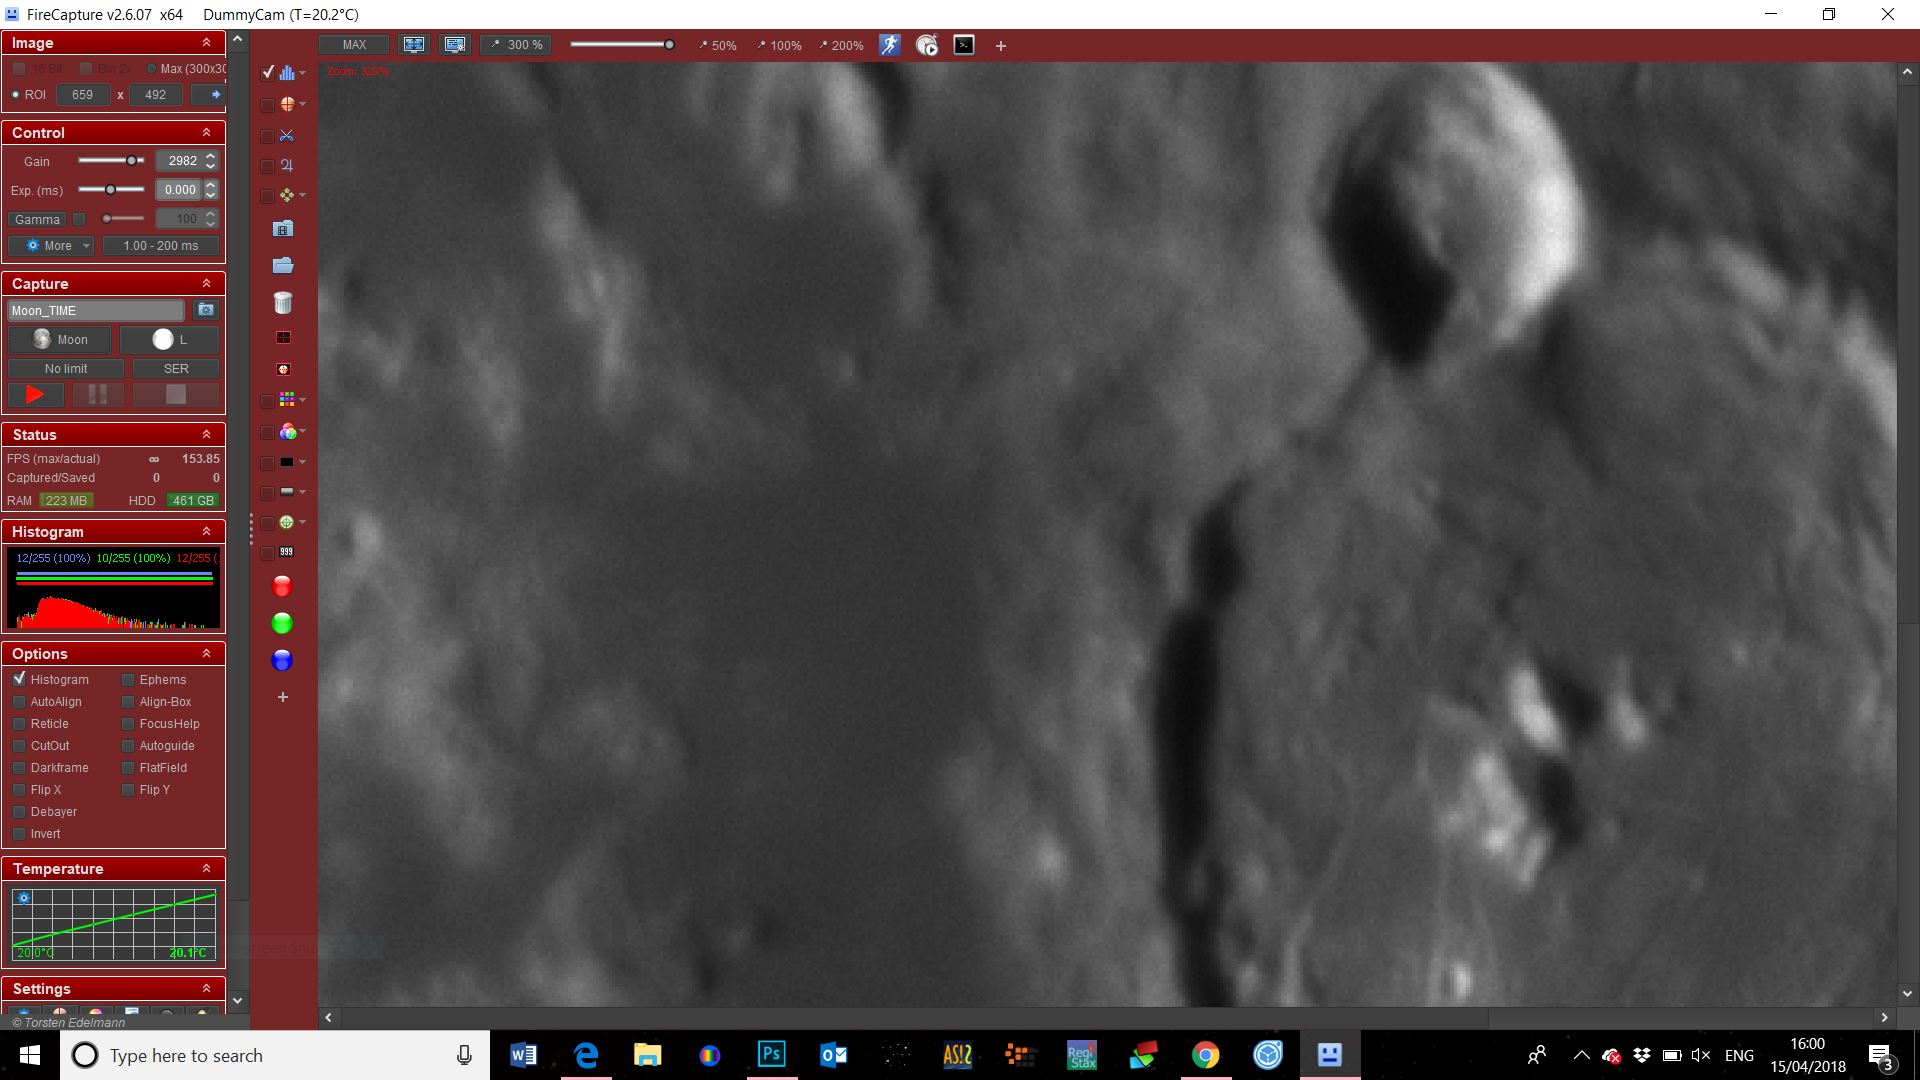
The image below shows the SharpCap imaging screen, as you can see this time I am imaging Mars and conditions were pretty decent.
Mars imaging with SharpCap
As imaging is a much quicker process with an OSC camera I tend to take a longer sequence of shots. In the example below I’ve shot ten video files for stacking and sharpening.

Processing Your Images
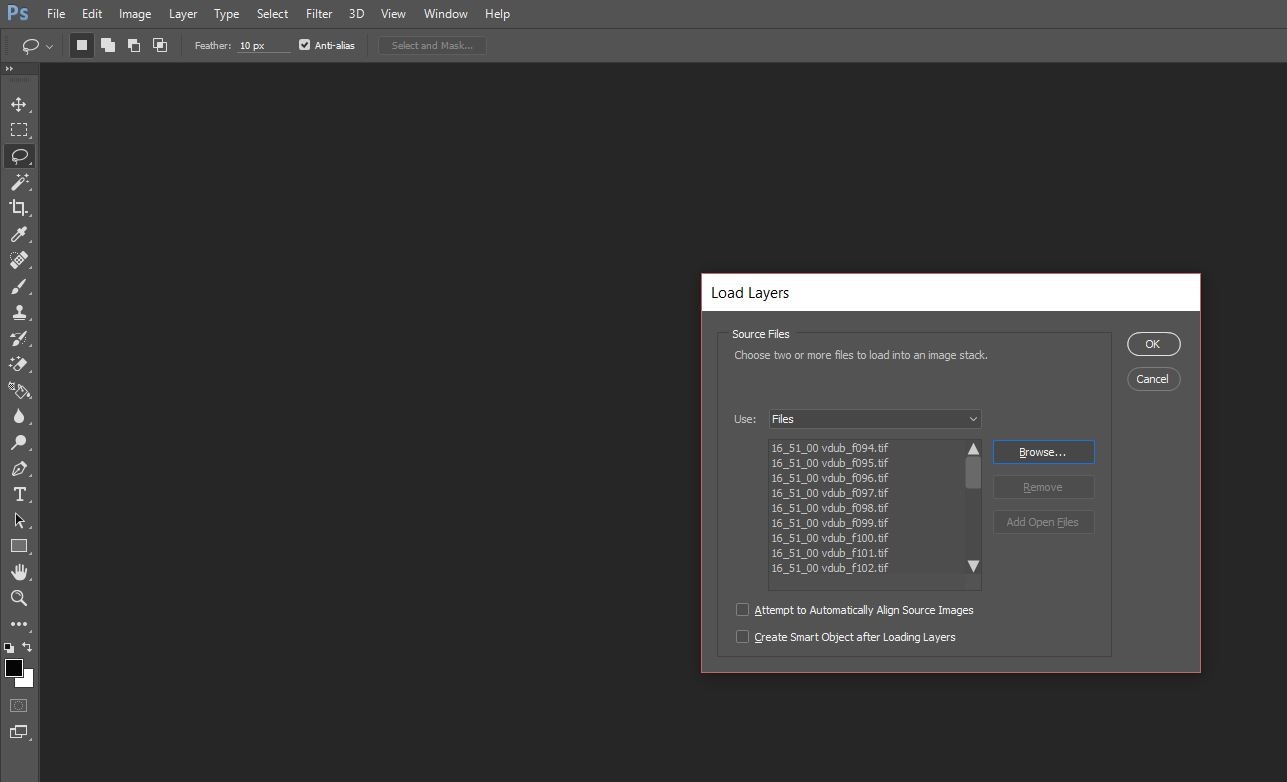
Stack each video in AutoStakkert!3 as described in previous posts, once you have stacked your first video you can drag the remaining files into the application and just hit stack - go off, have a drink and come back to a set of stacked files which you can then sharpen in Registax.

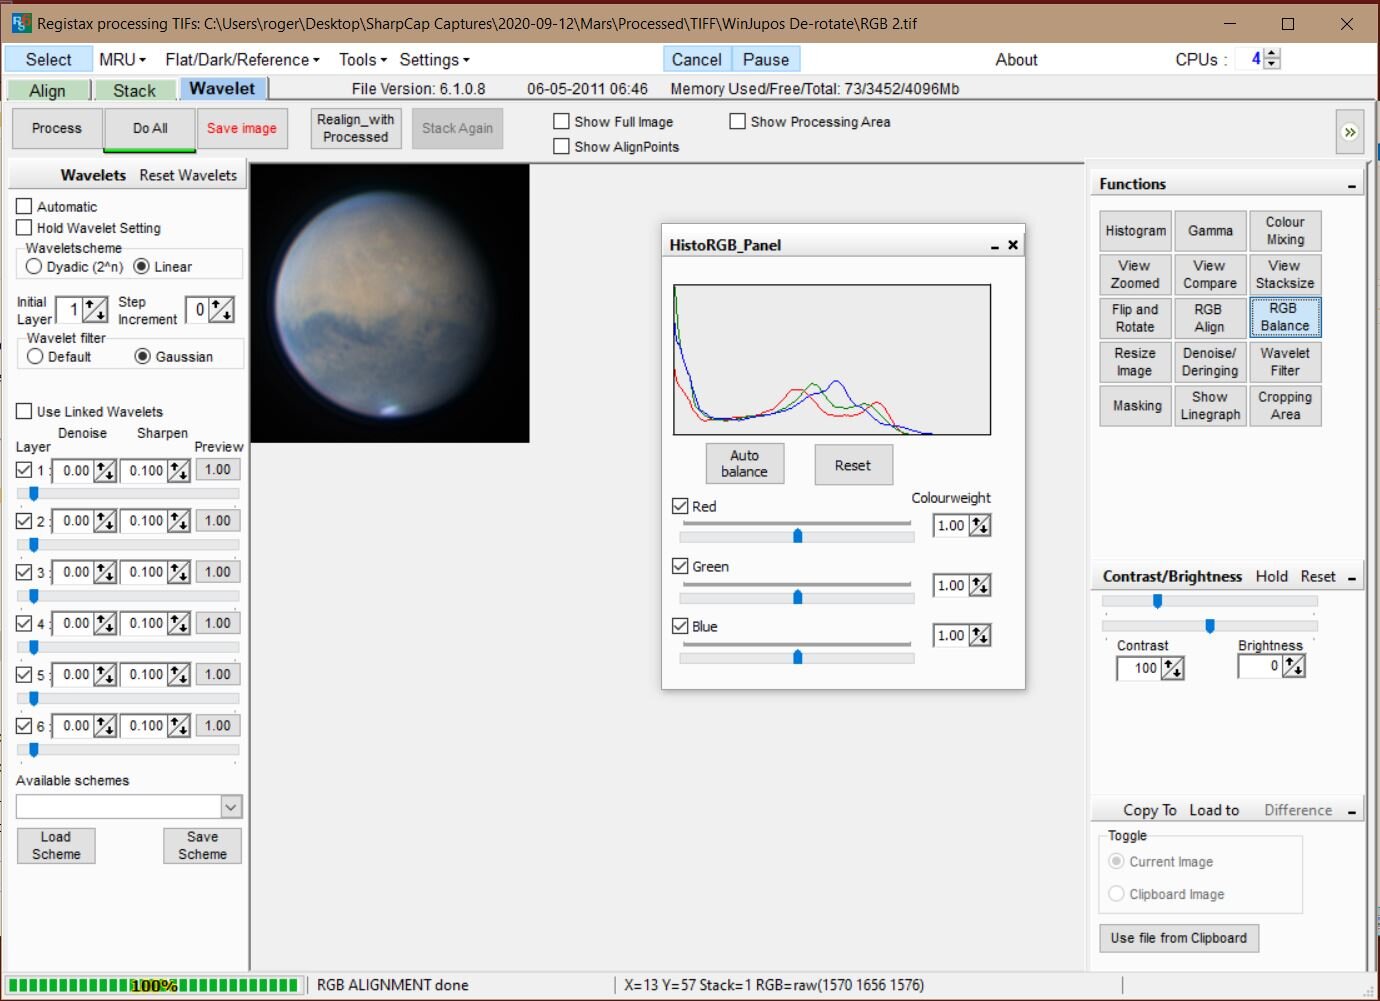
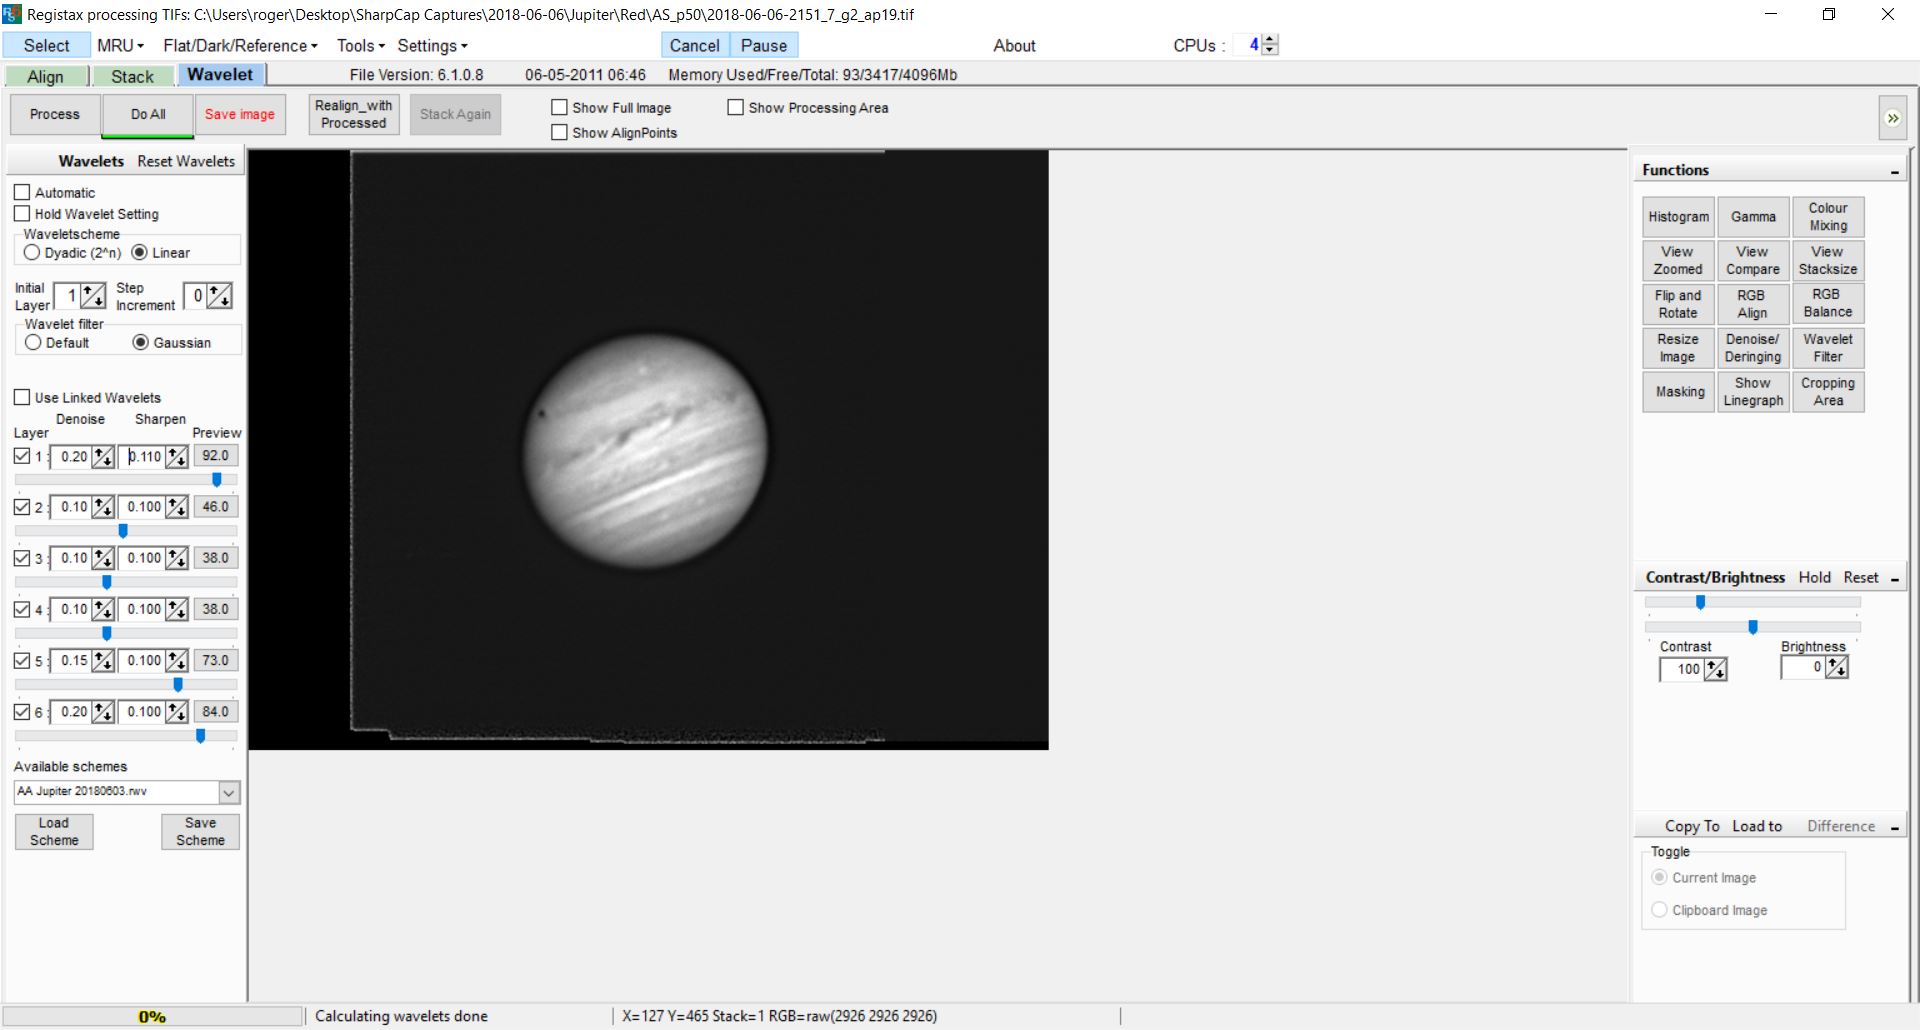
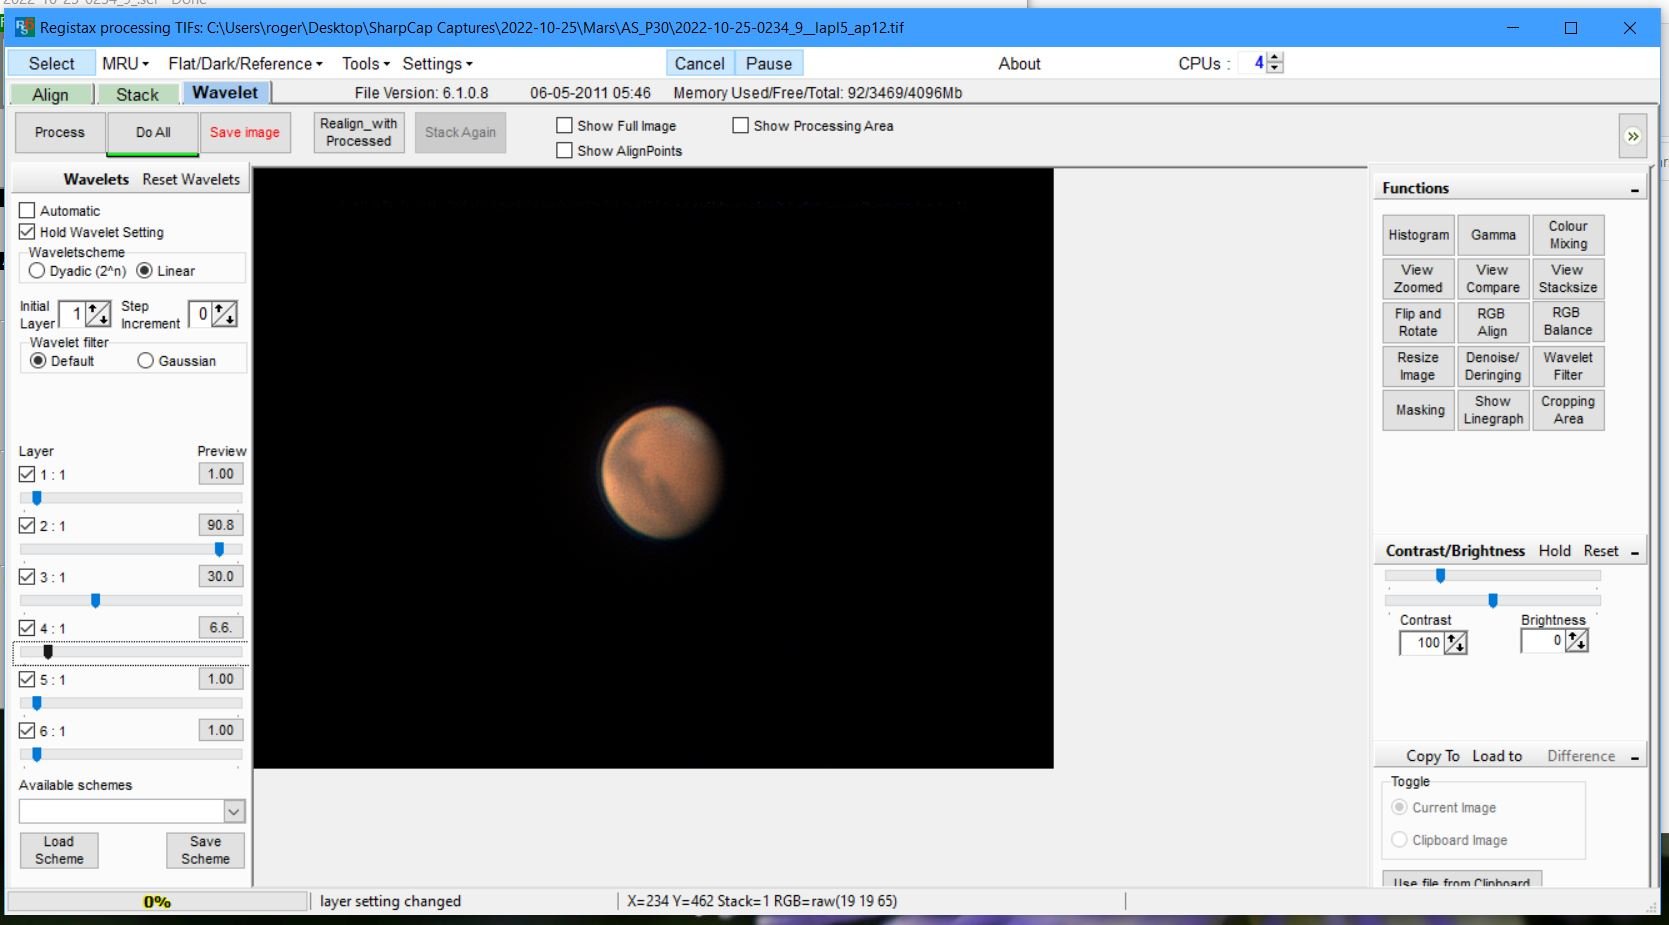
Each stack needs to be sharpened as shown below, the amount of sharpening depending on the individual file, generally if you have a set of stacks shot within a brief time period they will all require a very similar amount of sharpening so you can select the Hold Wavelet setting which will apply the same sharpening to each file you open, you can then adjust accordingly.
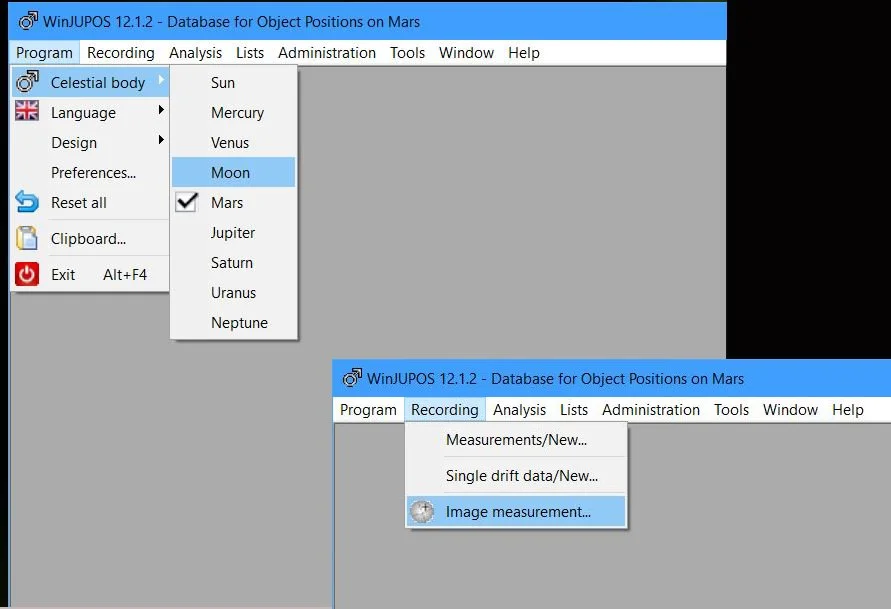
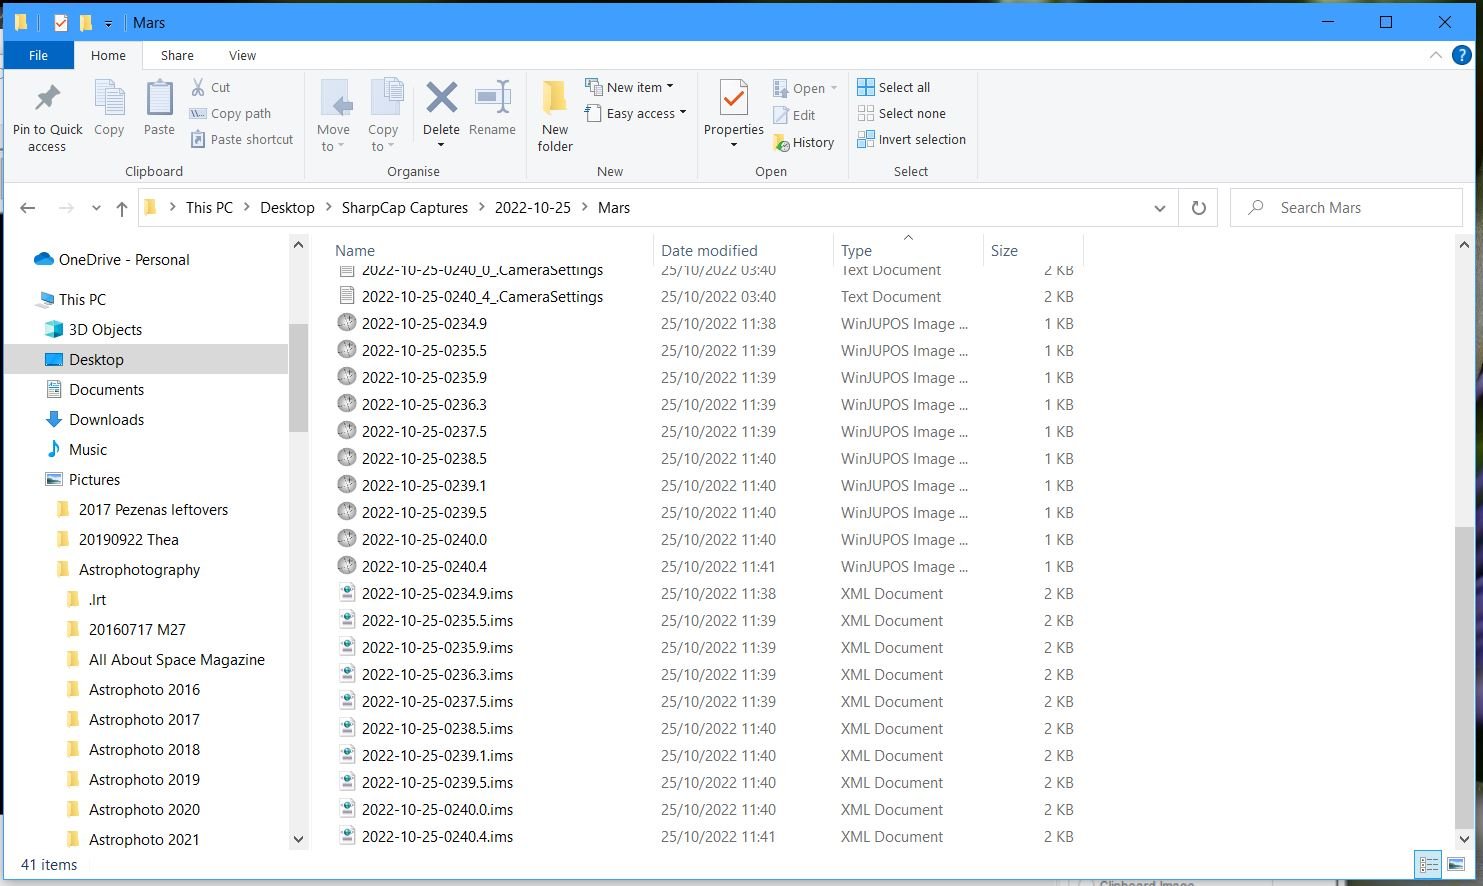
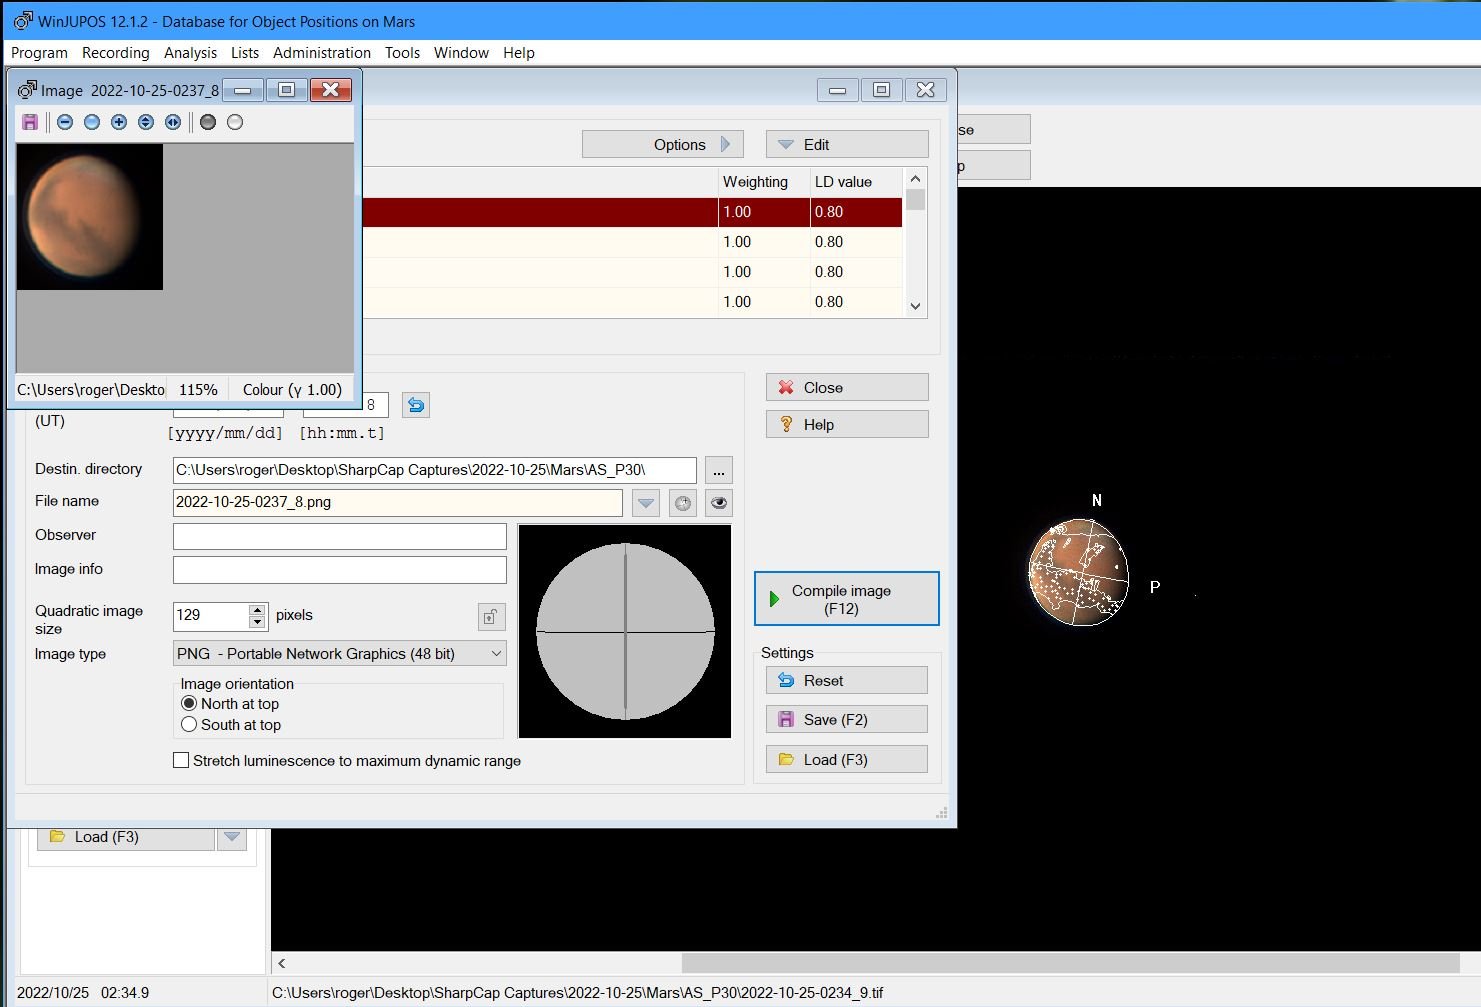
The next step is to de-rotate you images in WinJupos, a big time saver is to ensure you are generating your files with WinJupos format file names in SharpCap or FireCapture. When you sharpen in Registax save a copy of the sharpened file with the stacking details removed e.g. 2022-10-25-0234_9__lapl5_ap12 would be saved as 2022-10-25-0234_9 - this will enable WinJupos to set the correct timestamp details for the image without you having to set them yourself. Make sure you select the correct celestial body and then choose Image Measurement as shown below.
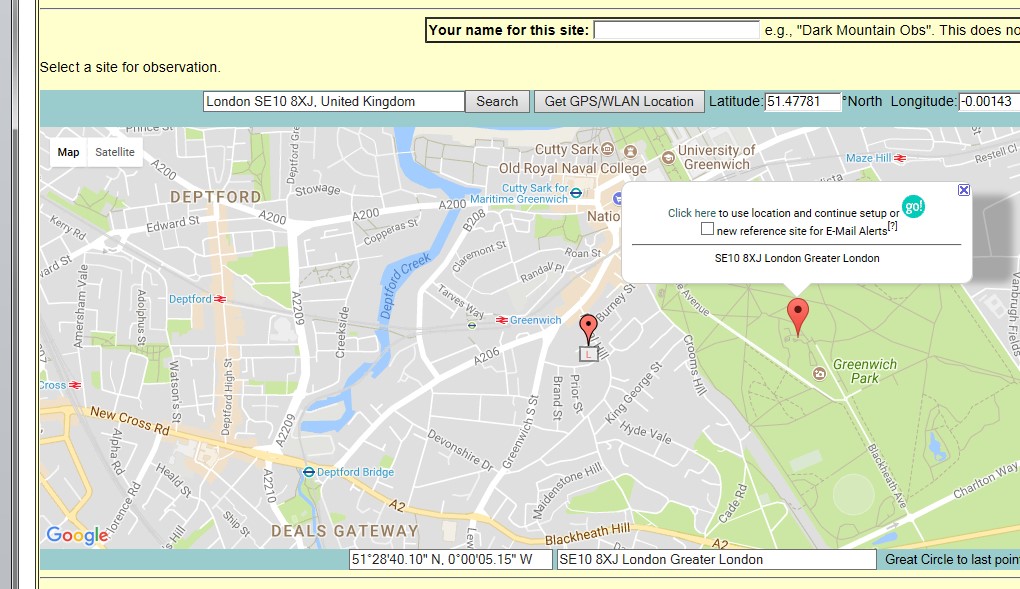
Once you’ve opened the first of your processed images you will see that the details from the file name will be populated in the date and UT fields, you will have to set your longitude and latitude which you can easily get from an app such as the compass on your iPhone. Next select the Adj. tab to ensure that the frame is correctly placed on the planet, in this mode use the arrow keys to move the frame over the planet, use the page up and page down to alter its size and N & P to move the frame clockwise and anti-clockwise. You can chose the additional graphic as shown below which helps with placement.

Once happy save the file and repeat this for each image, adjusting as required - the resulting files shown below.
Next you need to de-rotate your images into a single stack. Add the image files and change the LD value, I use 0.75 for Jupiter and 0.80 for Mars, but you can experiment, then hit Compile Image.

The compiled image when generated appears in a pop up as shown below.
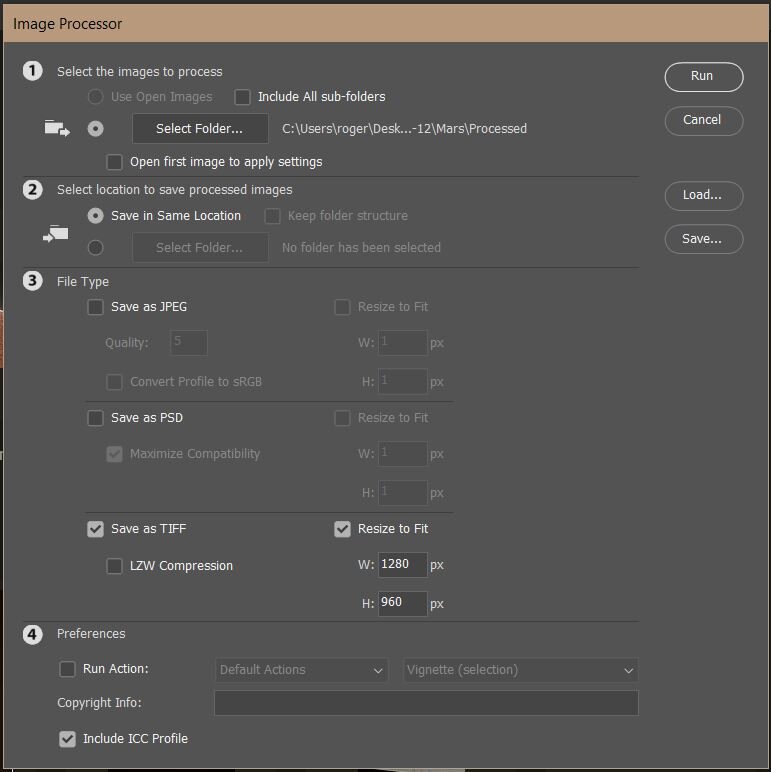
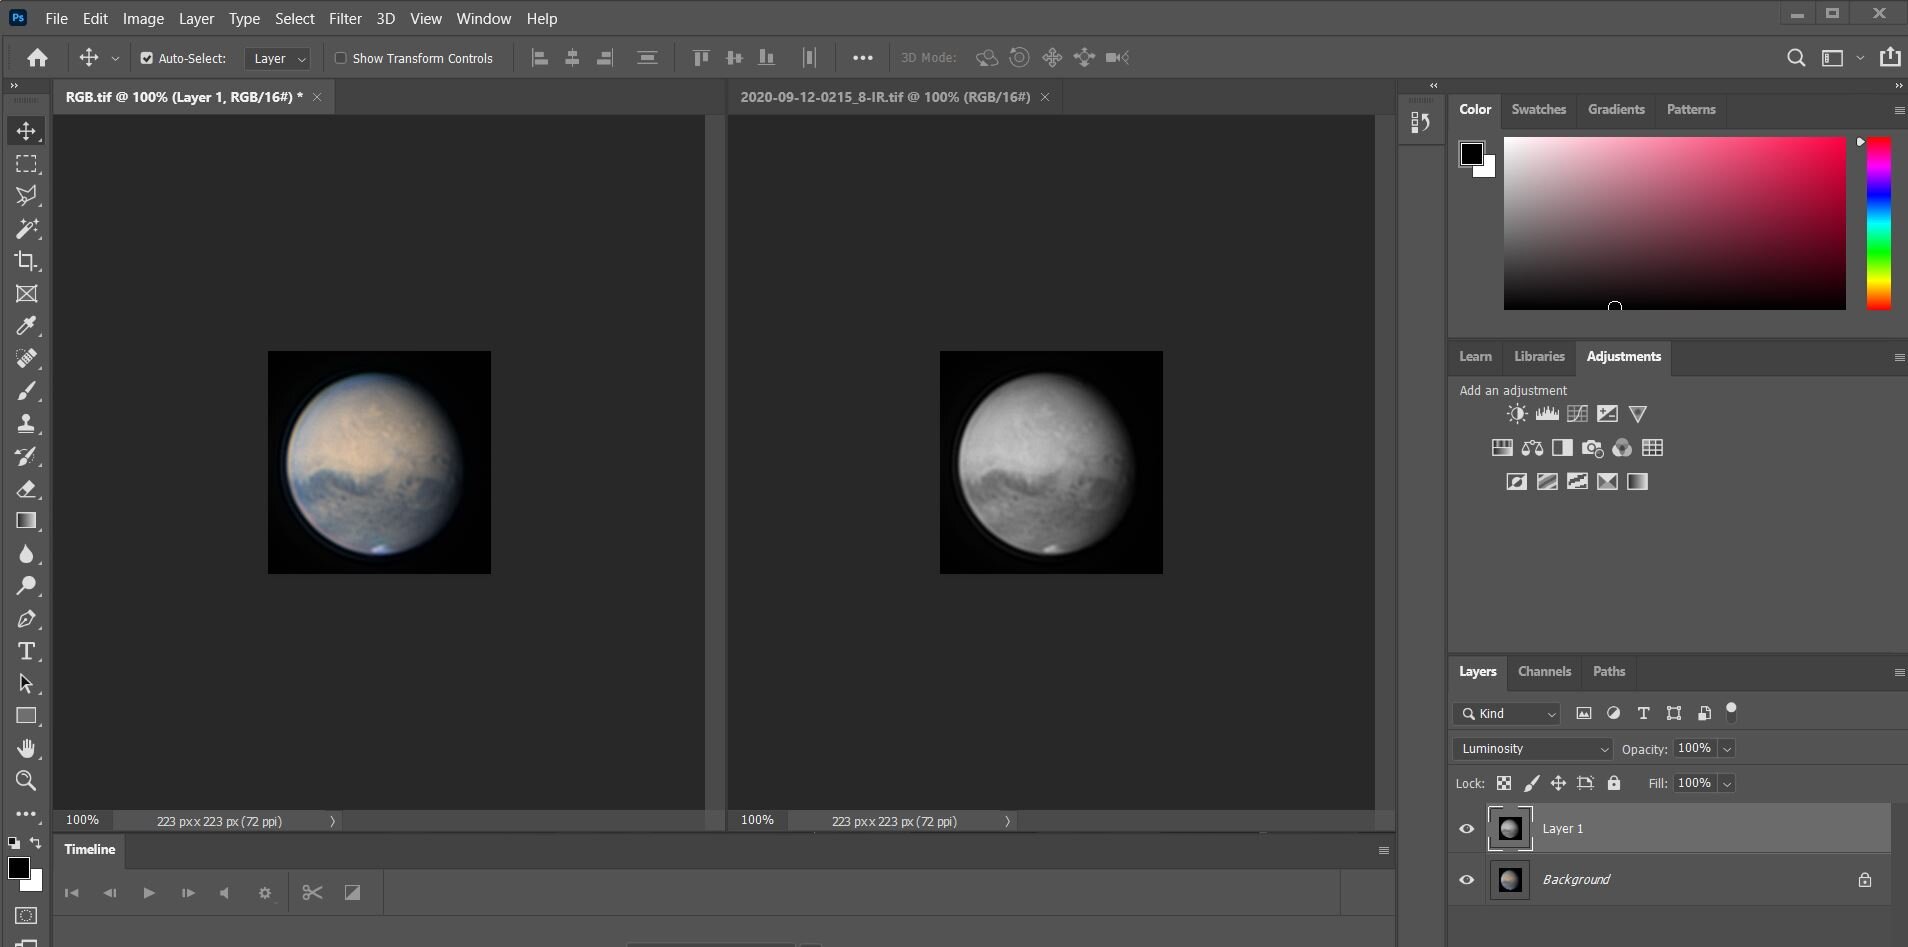
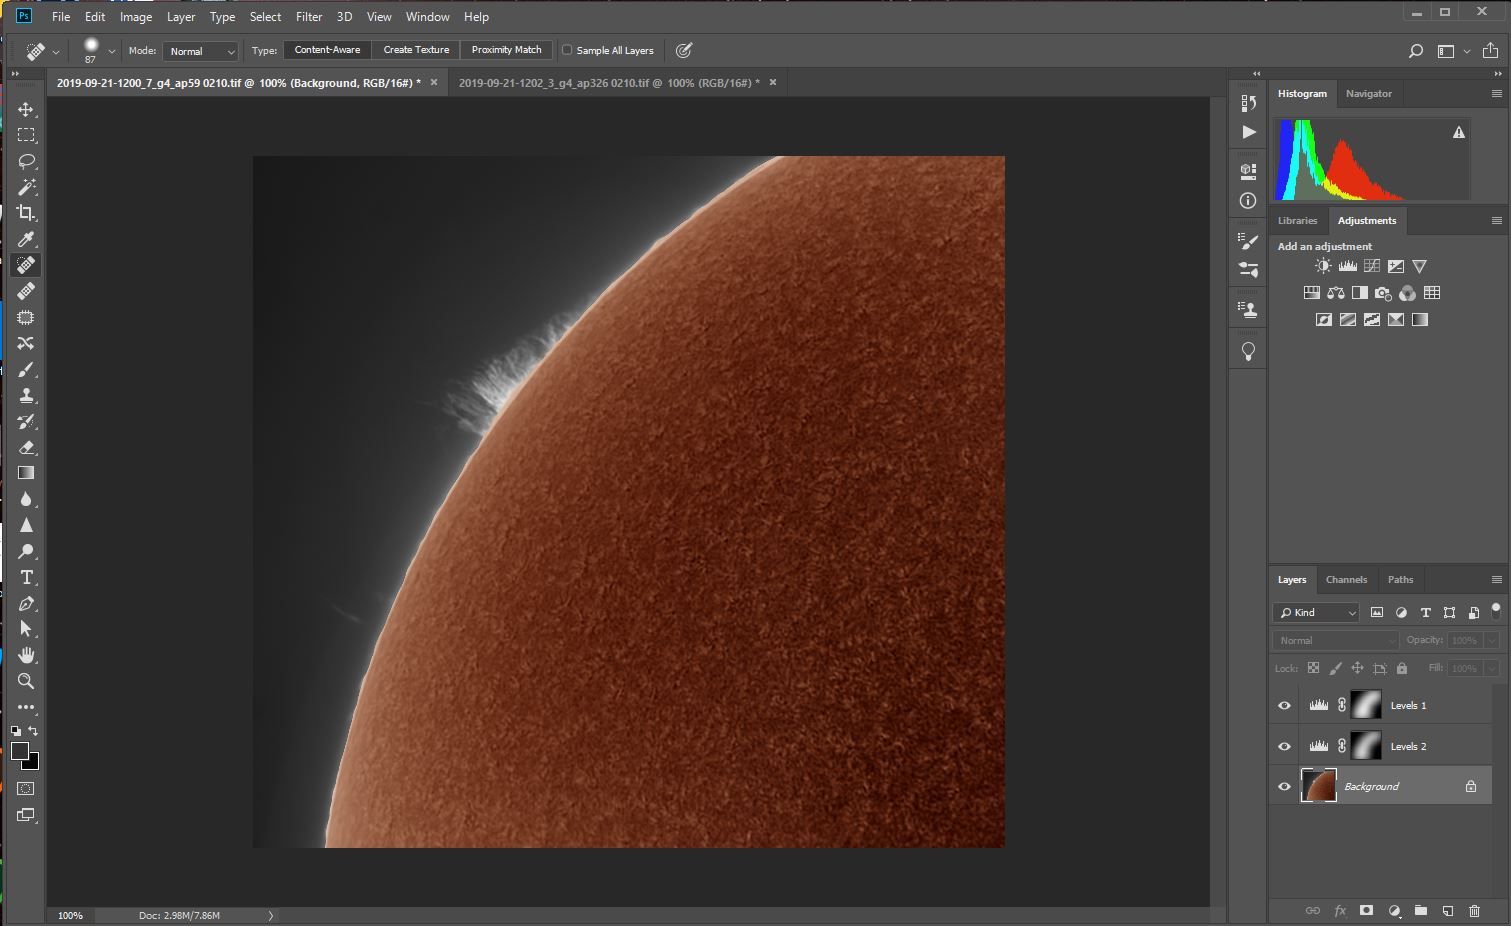
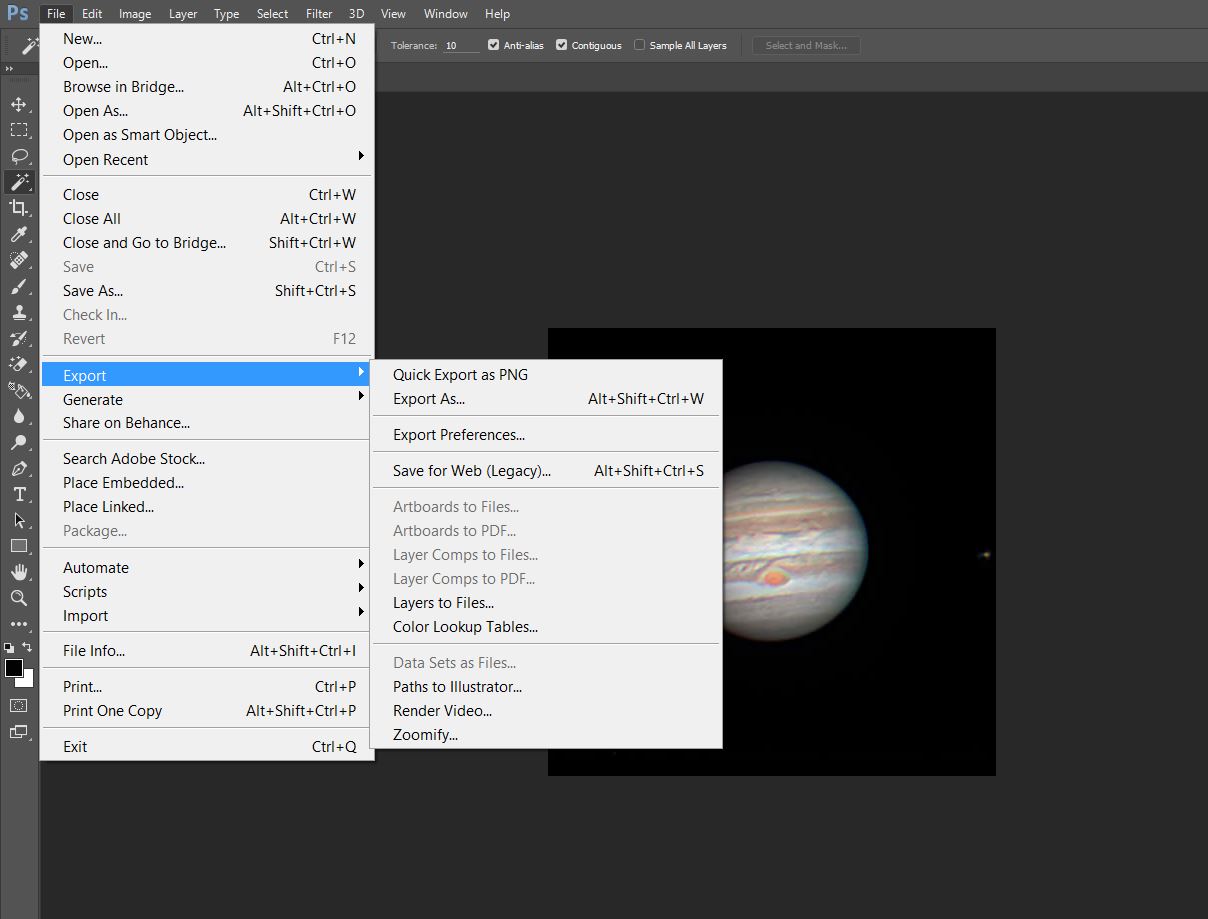
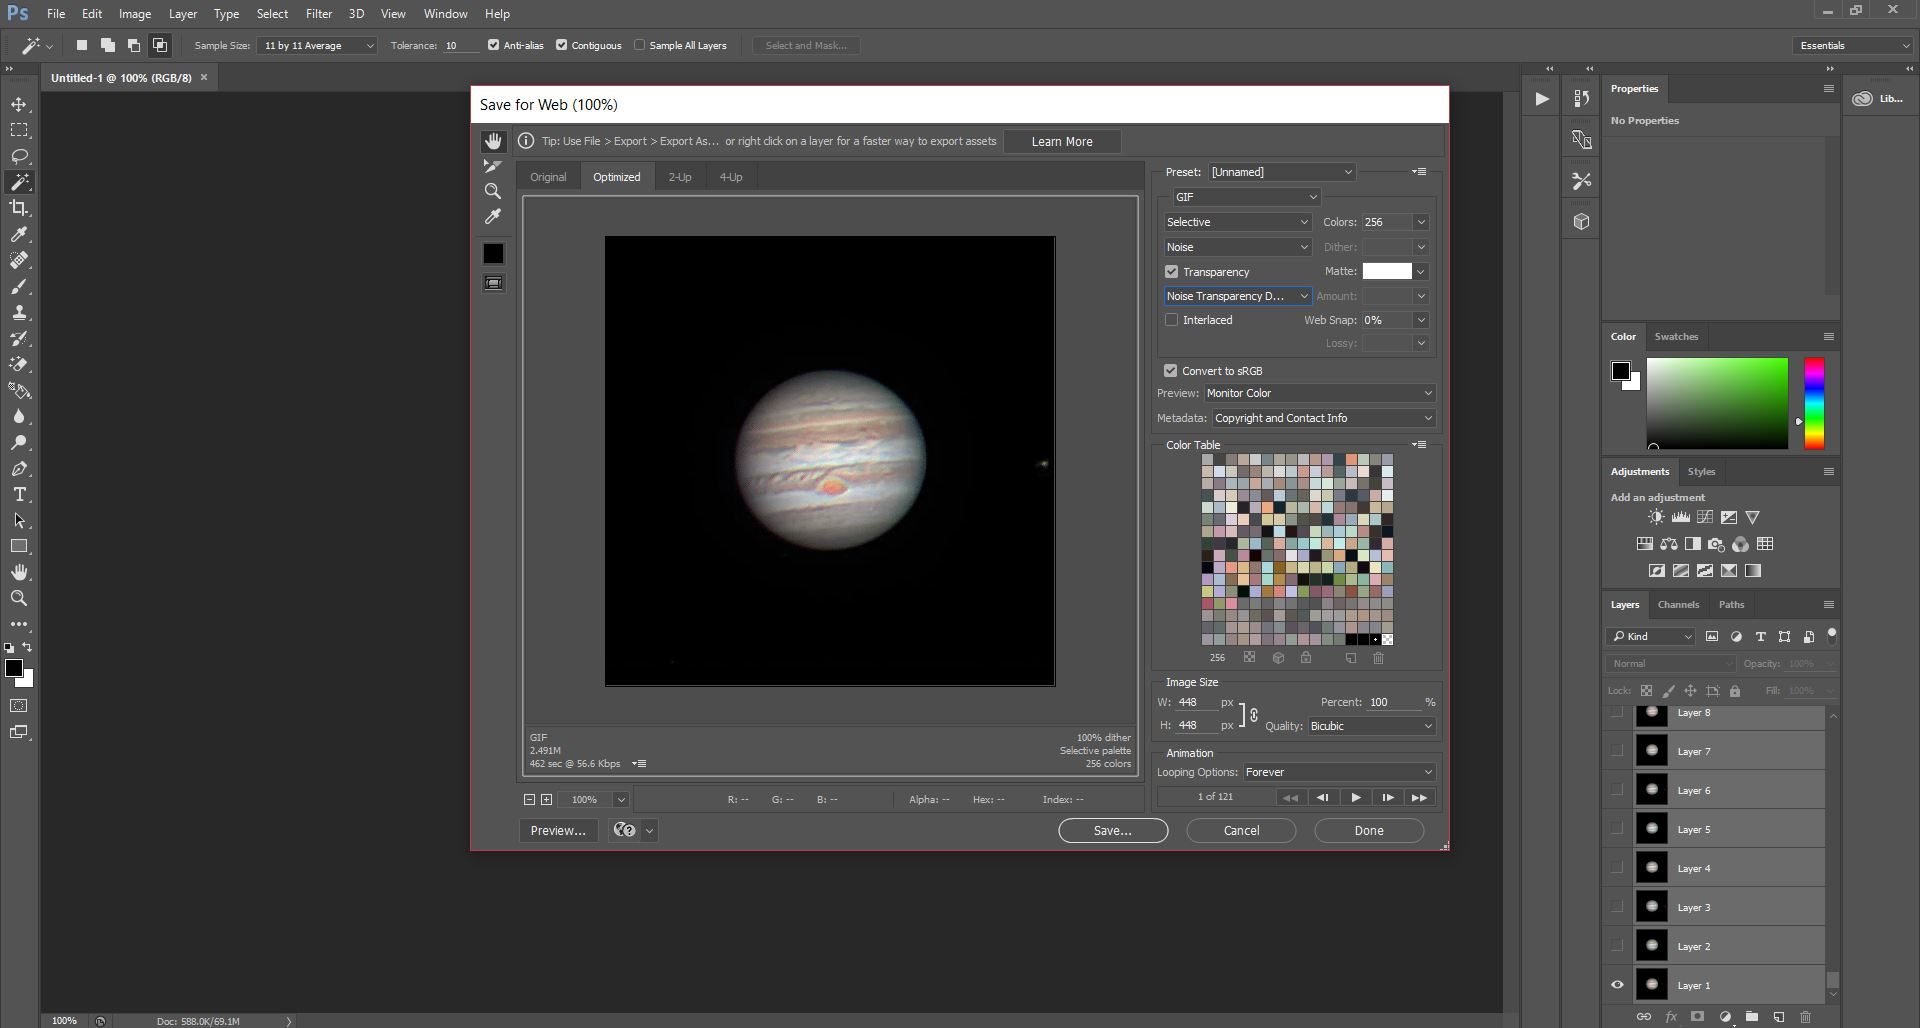
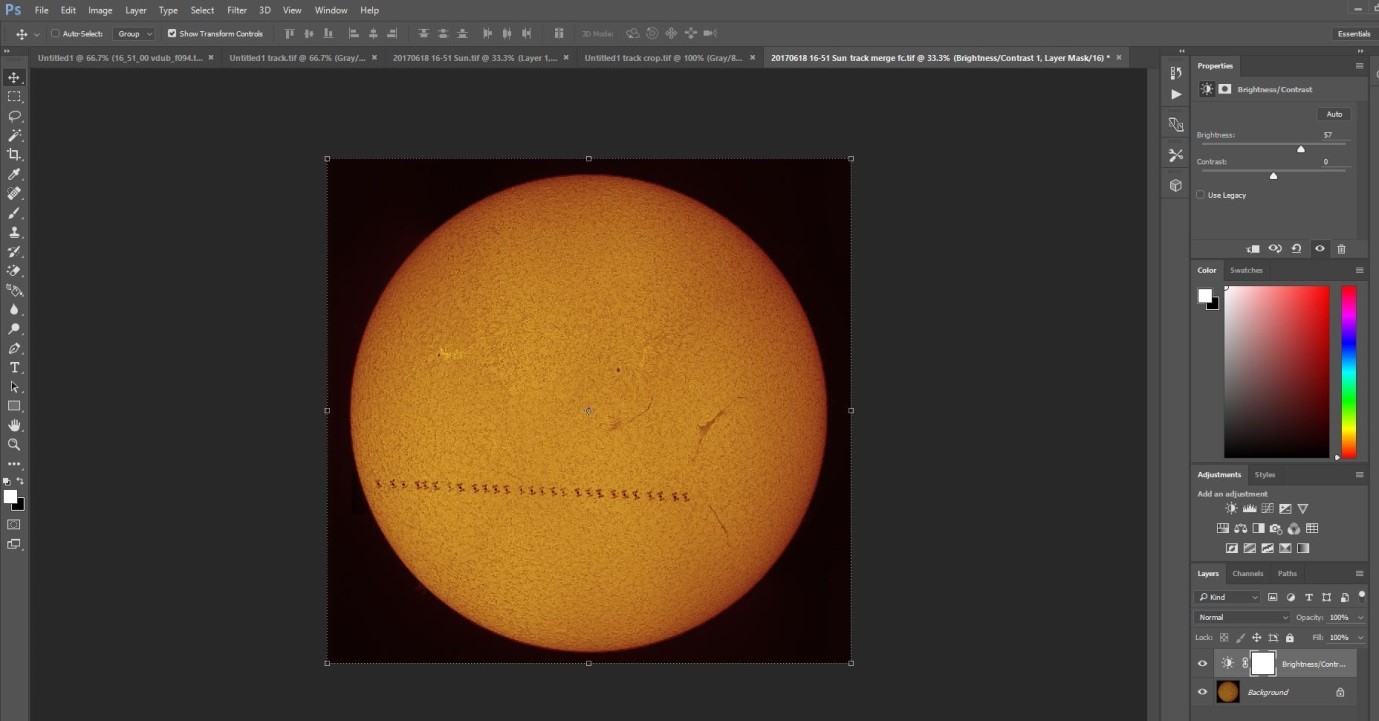
You can do a little more sharpening of the result in Registax, only a tiny bit as over-sharpening will spoil your image. You can now do your final processing in PhotoShop. In the image below I’m doing some additional sharpening
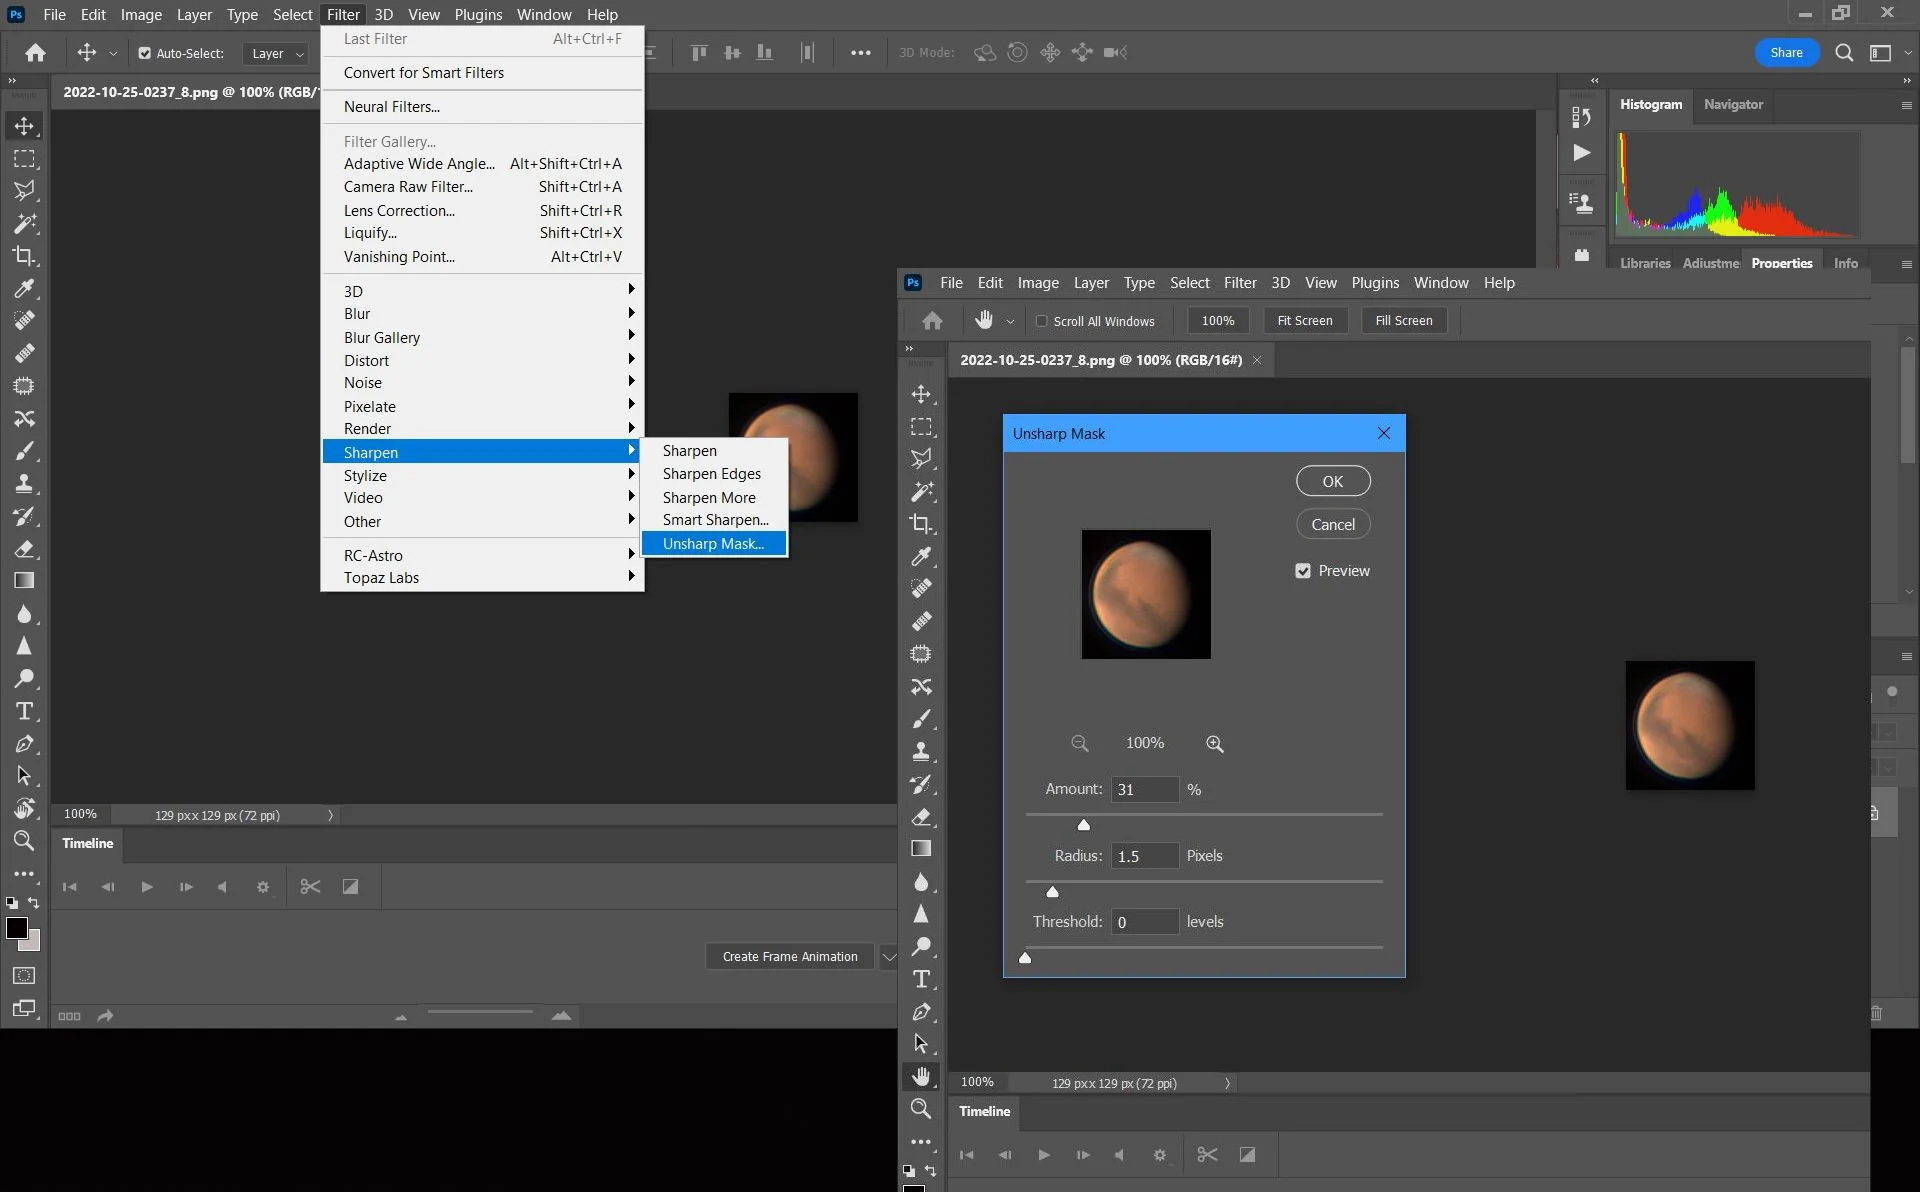
You can also perform a despeckle and have a play with contrast to bring out the albedo features on objects such as Mars.

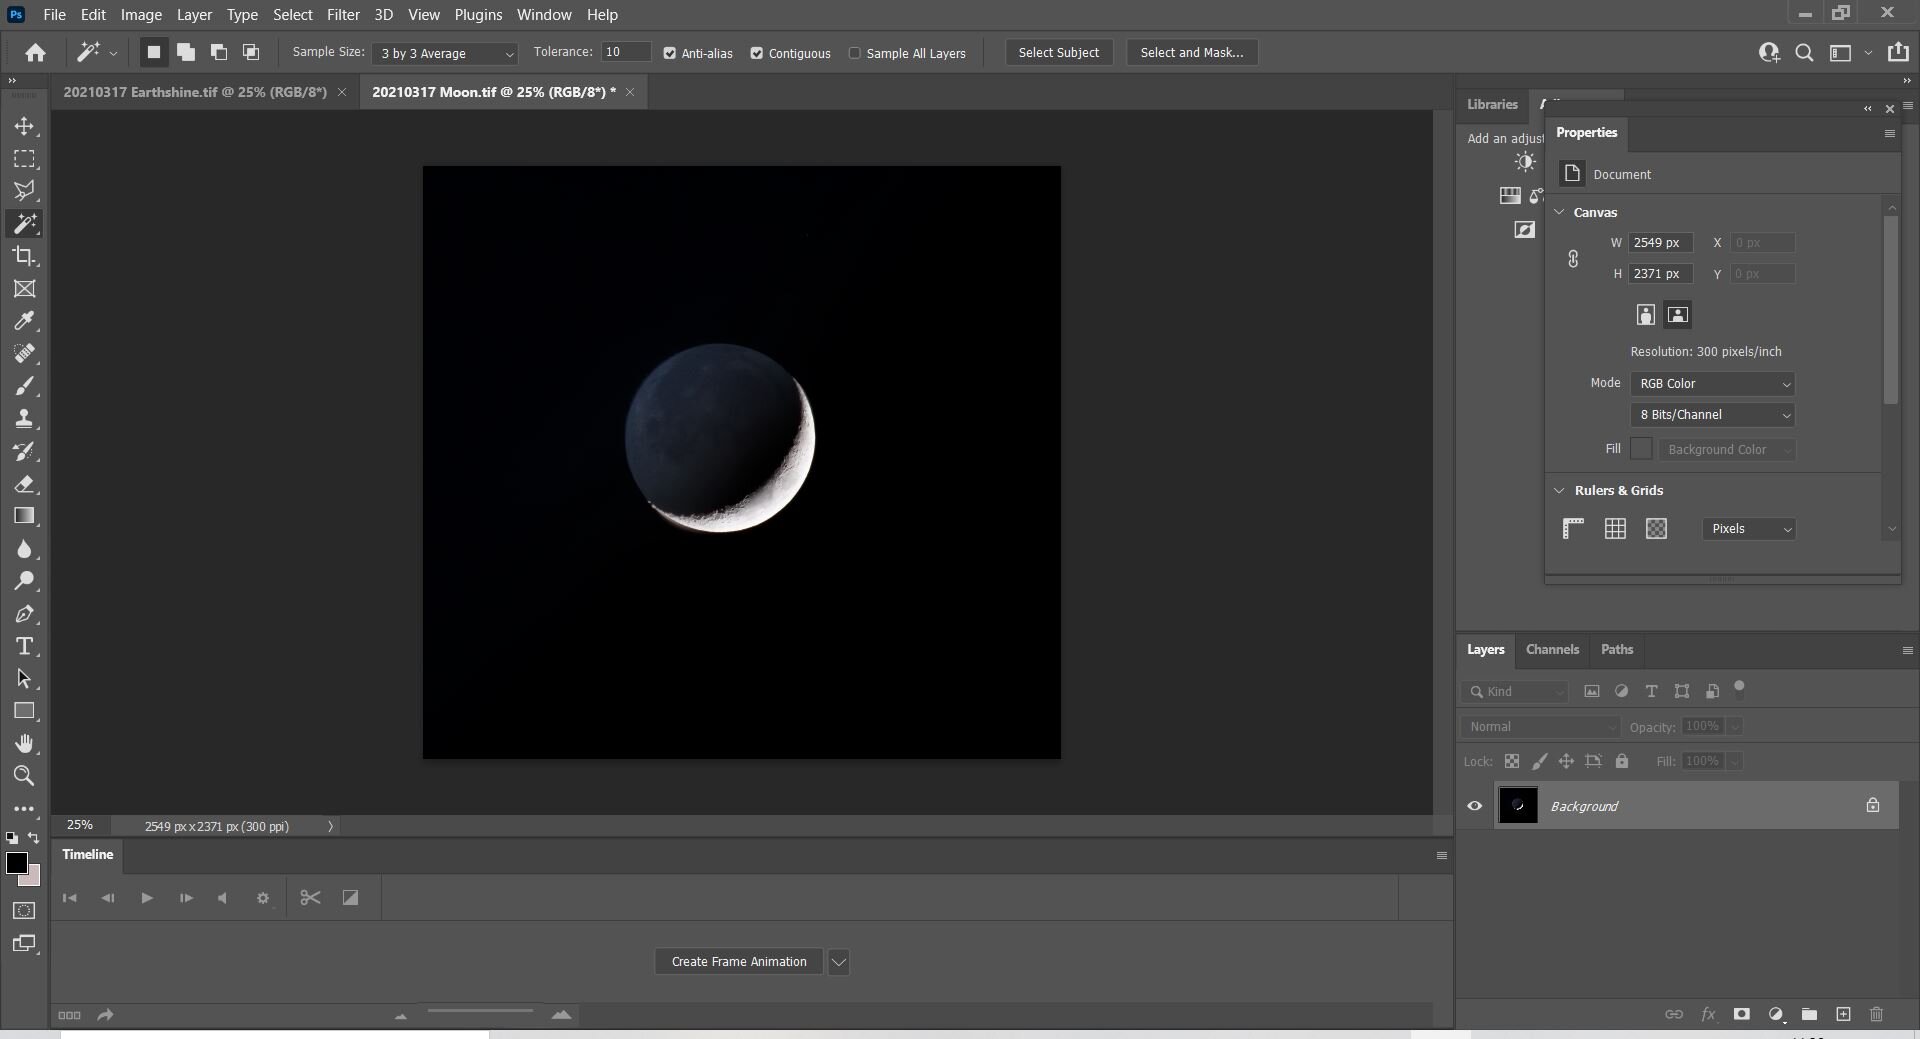
As a final step when a target is relatively small such as Mars a few months prior to opposition I like to increase the space around the planet purely for aesthetic reasons as shown here. Extend the area using crop, match the colour to that around the planet and then fill in the white space using the brush tool.

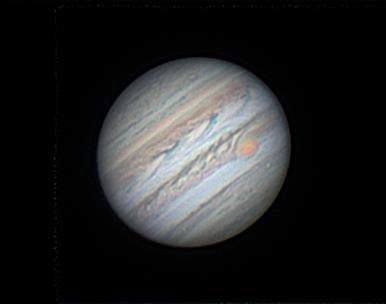
Once you’ve completed the steps above you should get something like the result below, then sit back and enjoy all that extra time you’ve gained!