In a previous post I detailed how to capture and process high resolution planetary images, but what if you want to do something a little different with that hard earned data? A planetary animation is a really fun way of presenting your images and isn’t as hard to achieve as you might think, though it does require a little perseverance.
The workflow is shown below and described in the remainder of this post.

Planetary Animation Workflow
Choosing a Target
In my guide to planetary imaging and processing previously posted on this site I cover planetary rotation periods and the challenges they present in the capture of high resolution images. When creating planetary animations high rotation rates are no longer your enemy, but your friend.
To gain the best results we want to choose a planet with a fast rotation period and clear surface features, basically Mars and Jupiter. All the other planets either rotate too slowly or do not have enough surface detail to enable movement to be tracked by the eye. One possible exception is Venus, where if you are shooting through IR and UV filters you may be able to show some movement of the cloud layers high in the Venusian atmosphere.
How Many Frames Should I Shoot?
From my planetary imaging post you will see that Mars has a rotation period of 24.6 hours and Jupiter one of 9.9 hours. If shooting Jupiter over a 4 ½ hour period you will be able to capture half a rotation of the planet, and if you time your captures with ingress and egress of the Great Red Spot you will have all the makings of a striking animation. I have found the website Calsky really useful in planning this type of project (www.calsky.com), choose planets from the top menu, then choose the planet you are interested in and then ‘Apparent View Data’, you can then play with the dates and time to see what your best window of opportunity is.
The time of year you will be imaging is also a factor as you will need enough hours of darkness to capture all your frames, something that is a bit of a challenge here in the northern hemisphere as Mars and Jupiter both reach their best at a time when darkness is at a premium! With Jupiter video shot over a period of as little as 30 minutes will still produce a nice result, so you don't have to go the full 4 1/2 hours!
The method you need to employ to capture your images is described in my guide to planetary imaging and processing, the difference being you will be taking a lot more shots of the same target. Say you aim to capture an image every 5 minutes, if you shoot using a colour camera or through one filter with a mono camera (IR or Red) you will end up with 12 images an hour which will yield 55 images over a 4 ½ hour period. If you wanted to produce a colour rotation video with a mono camera you would end up with 4 times that number of videos to process, a hard drive busting 220 videos! So I stick to mono through one filter, but you may be more dedicated than me!
Gaining a Smooth and Consistent Result
The key to a good rotation video is smoothness and consistency. The more images you have the smoother your result will be, this is where WinJupos comes to your rescue as it will enable you to generate additional images without having to shoot more video. Here are the steps you need to take (details on how to perform these actions can be found in my planetary imaging post):
- Capture and process each of you videos as normal (stack, sharpen etc.)
- In WinJupos create an image measurement (IM) file for each of the processed images and de-rotate each individual IM file, you should now have 55 WinJupos generated images (for 4 1/2 hours worth of data) .
- Now load each contiguous pair of IM files and de-rotate them e.g. load timestamp 00:00:00 & 00:05:00 the result will be the mid-point between the two, if you do this for each adjacent pair you will end up with 54 extra images to add to your rotation video. Almost double what you started with! Now you have a healthy 109 images to make up your rotation video with an effective gap of 2 ½ minutes between each frame which should yield a lovely smooth result.
Once all the images making up the rotation video have been generated and further sharpened it is a good idea to open each adjacent frame up side by side in PhotoShop and check that there are no large variations in levels etc. as this will affect the quality of your final animation. Try to make each adjacent frame as consistent as possible, tedious but well worth it in the end.
Generating Your Animation
Here I'll discuss how to generate your animation using the free software Planetary Imaging PreProcessor (PIPP - https://sites.google.com/site/astropipp/). There are lots of animation applications out there, for example, you can use PhotoShop to create a frame animation, or WinJupos to create an animation using a surface map pasted onto a sphere. Both these methods can yield great results but I'll limit myself to PIPP for now.
Creating a Planetary Animation in PIPP
On opening PIPP you will see a number of tabs I'll go through the relevant ones in order.
Source Files - This tab is defaulted when you open the application. Here you need to click [Add Image Files] and select the frames you want to use for your animation. Make sure they are loaded in order, if they are timestamped they will automatically load in the correct sequence, otherwise you may need to make sure the start frame is at the top of the list and the last frame at the end with all intervening frames in the correct order. Once you've opened your images a pop up will inform you that join mode has been selected, this is what you want so just OK the message. Make sure the Planetary Animation box is ticked, this will optimise the settings in the other tabs automatically.

Choose the images making up your animation

Images loaded into PIPP, Join mode selected and Planetary Animation ticked
Processing Options - The selections in this tab will be defaulted to those the software determines as optimal for planetary animation, however you may want to alter some of these. I've found that the object detection threshold may need to be amended if your images are quite dim, I also find that it is worthwhile enabling cropping so that you don't end up with a lots of blank space around your subject. There are handy 'test options' buttons which enable you to check that the options you have selected provide the desired result, if not just tweak them until they do.

Processing options with object detection changed and cropping enabled
Animation Options - Here you can select how you want your frames to be played i.e. forwards, backwards, number of repeats, delay between repeats etc. Don't make the delay too long, just enough to show it is cycling through the images again is what you want.

Animation Options
Output Options - In this tab you can choose where you want your animation to be saved, the output format, quality and the playback frames per second. I've found that 10 frames per second gives a nice result, so aim for that if you have enough images, if you have a large number of input images you can go even higher - the higher the frames per second the smoother the final result. You can save as an AVI or GIF. I tend to save my animation as an AVI and convert it to a GIF in Photoshop, I describe how you do this in a later section of this post.

Output Options
Do Processing - Once you are happy with the settings you have chosen go to the Do Processing tab and click [Start Processing]. The AVI or GIF will then be generated and saved to the location you specified in the output options tab. If you get a processing error where the object has not been detected just go back and change your object detection threshold and try again. Your planetary animation should now ready to enjoy and share!

Image processing in PIPP and saved AVI
Converting Your video to a .gif in photoshop
While you can save your output as a .GIF in PIPP I tend to do this as an additional step in PhotoShop, its not essential but I find it gives a slightly better result. If you don't have PhotoShop or are happy with the output from PIPP then you don't need to perform this step, if you do want to try it here's what you need to do.
Open Photoshop (obviously)
Go to [File] [Import] [Video Frames to Layers..]

Import video file as layers in PhotoShop
When the options box below appears ensure 'Make Frame Animation' is checked. You can also choose whether you want to limit the frames processed, though generally for planetary animations you would want all frames.

Choose the number of frames you want to include and Ensure Make frame animation is checked
Select [File] [Export] [Save for Web (Legacy)…], may just be [File] [Save for Web] in older versions
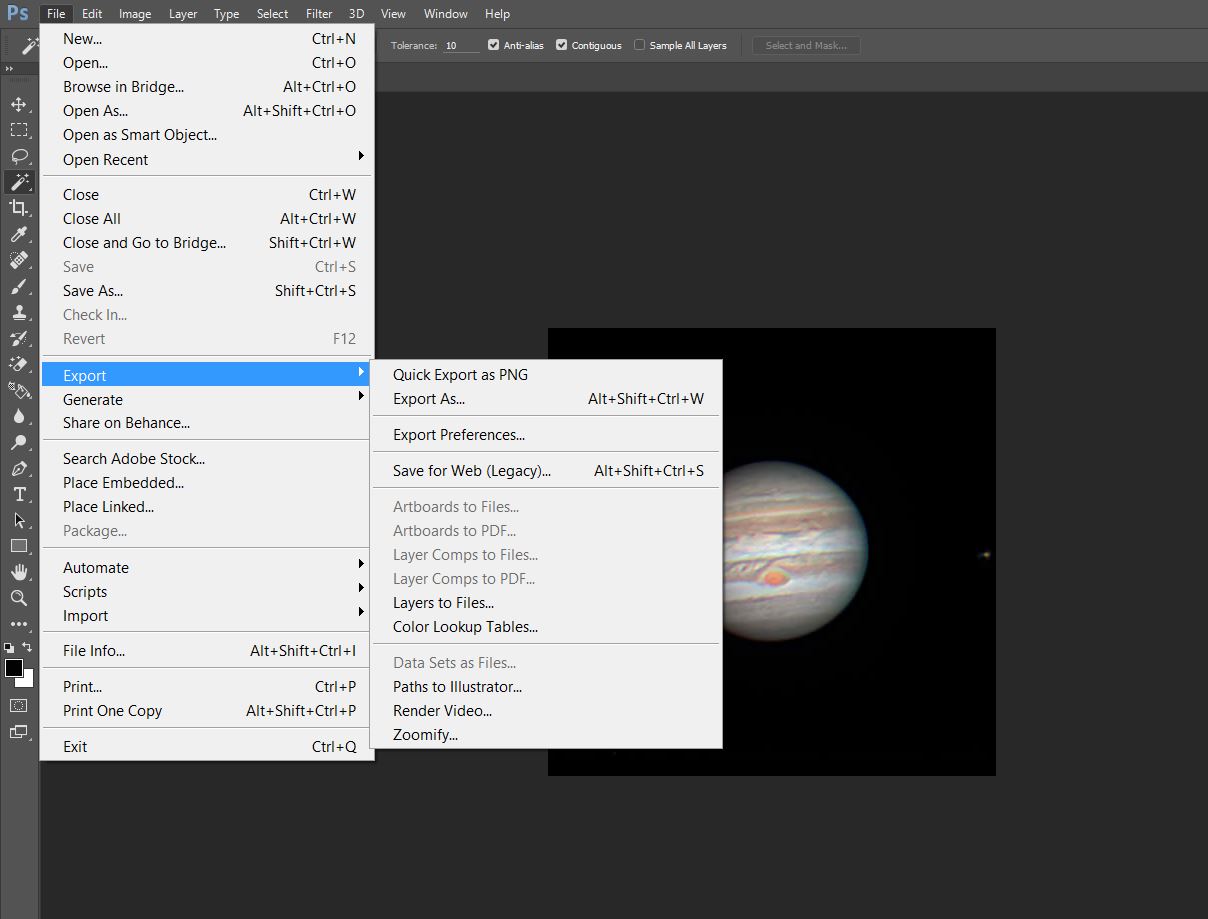
Go to File, Export, Save for Web
You can choose various options from the menus within the GIF screen presented, generally I just set the noise settings as shown.
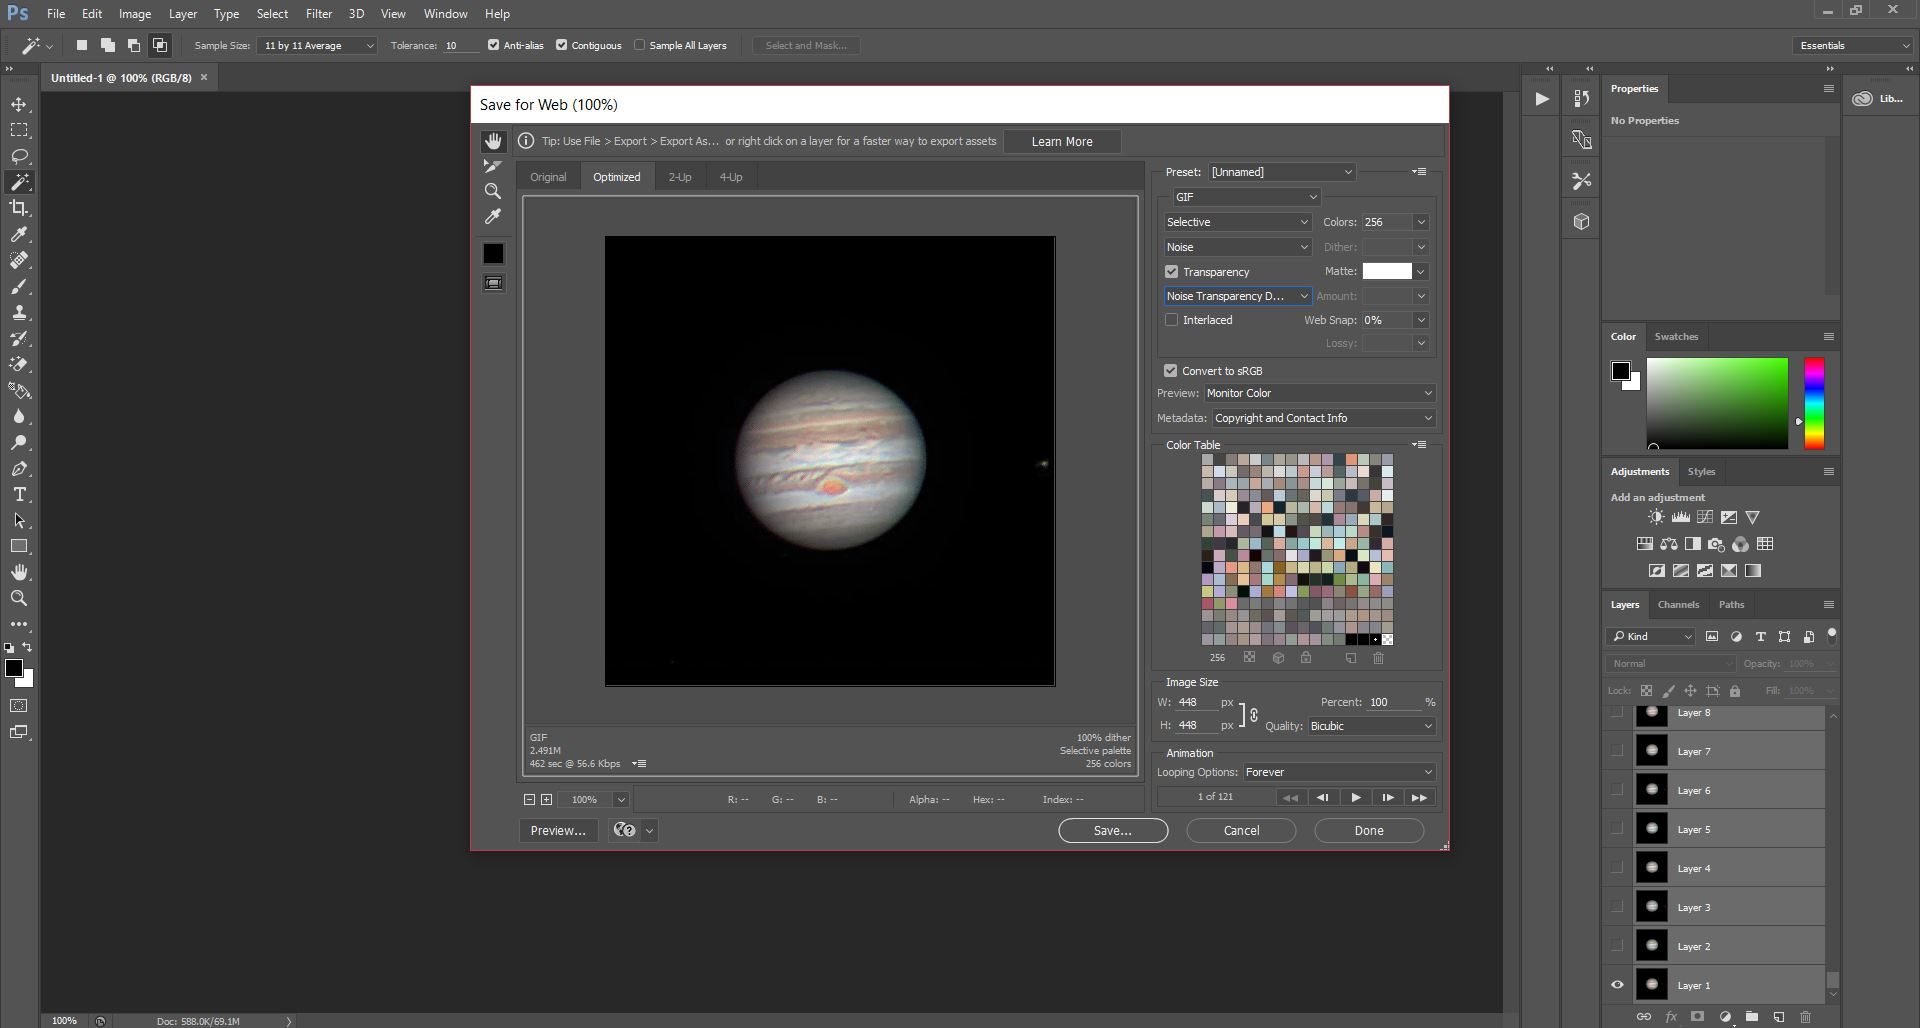
Choose your options from the gif screen
Now save and share!